
Crimson Desert Guide
Chapter 1: The First Encounter Walkthrough
This page is a complete guide of the Chapter 1 Crimson Desert. It includes all the main missions. Check out the full video gameplay guide on our youtube.
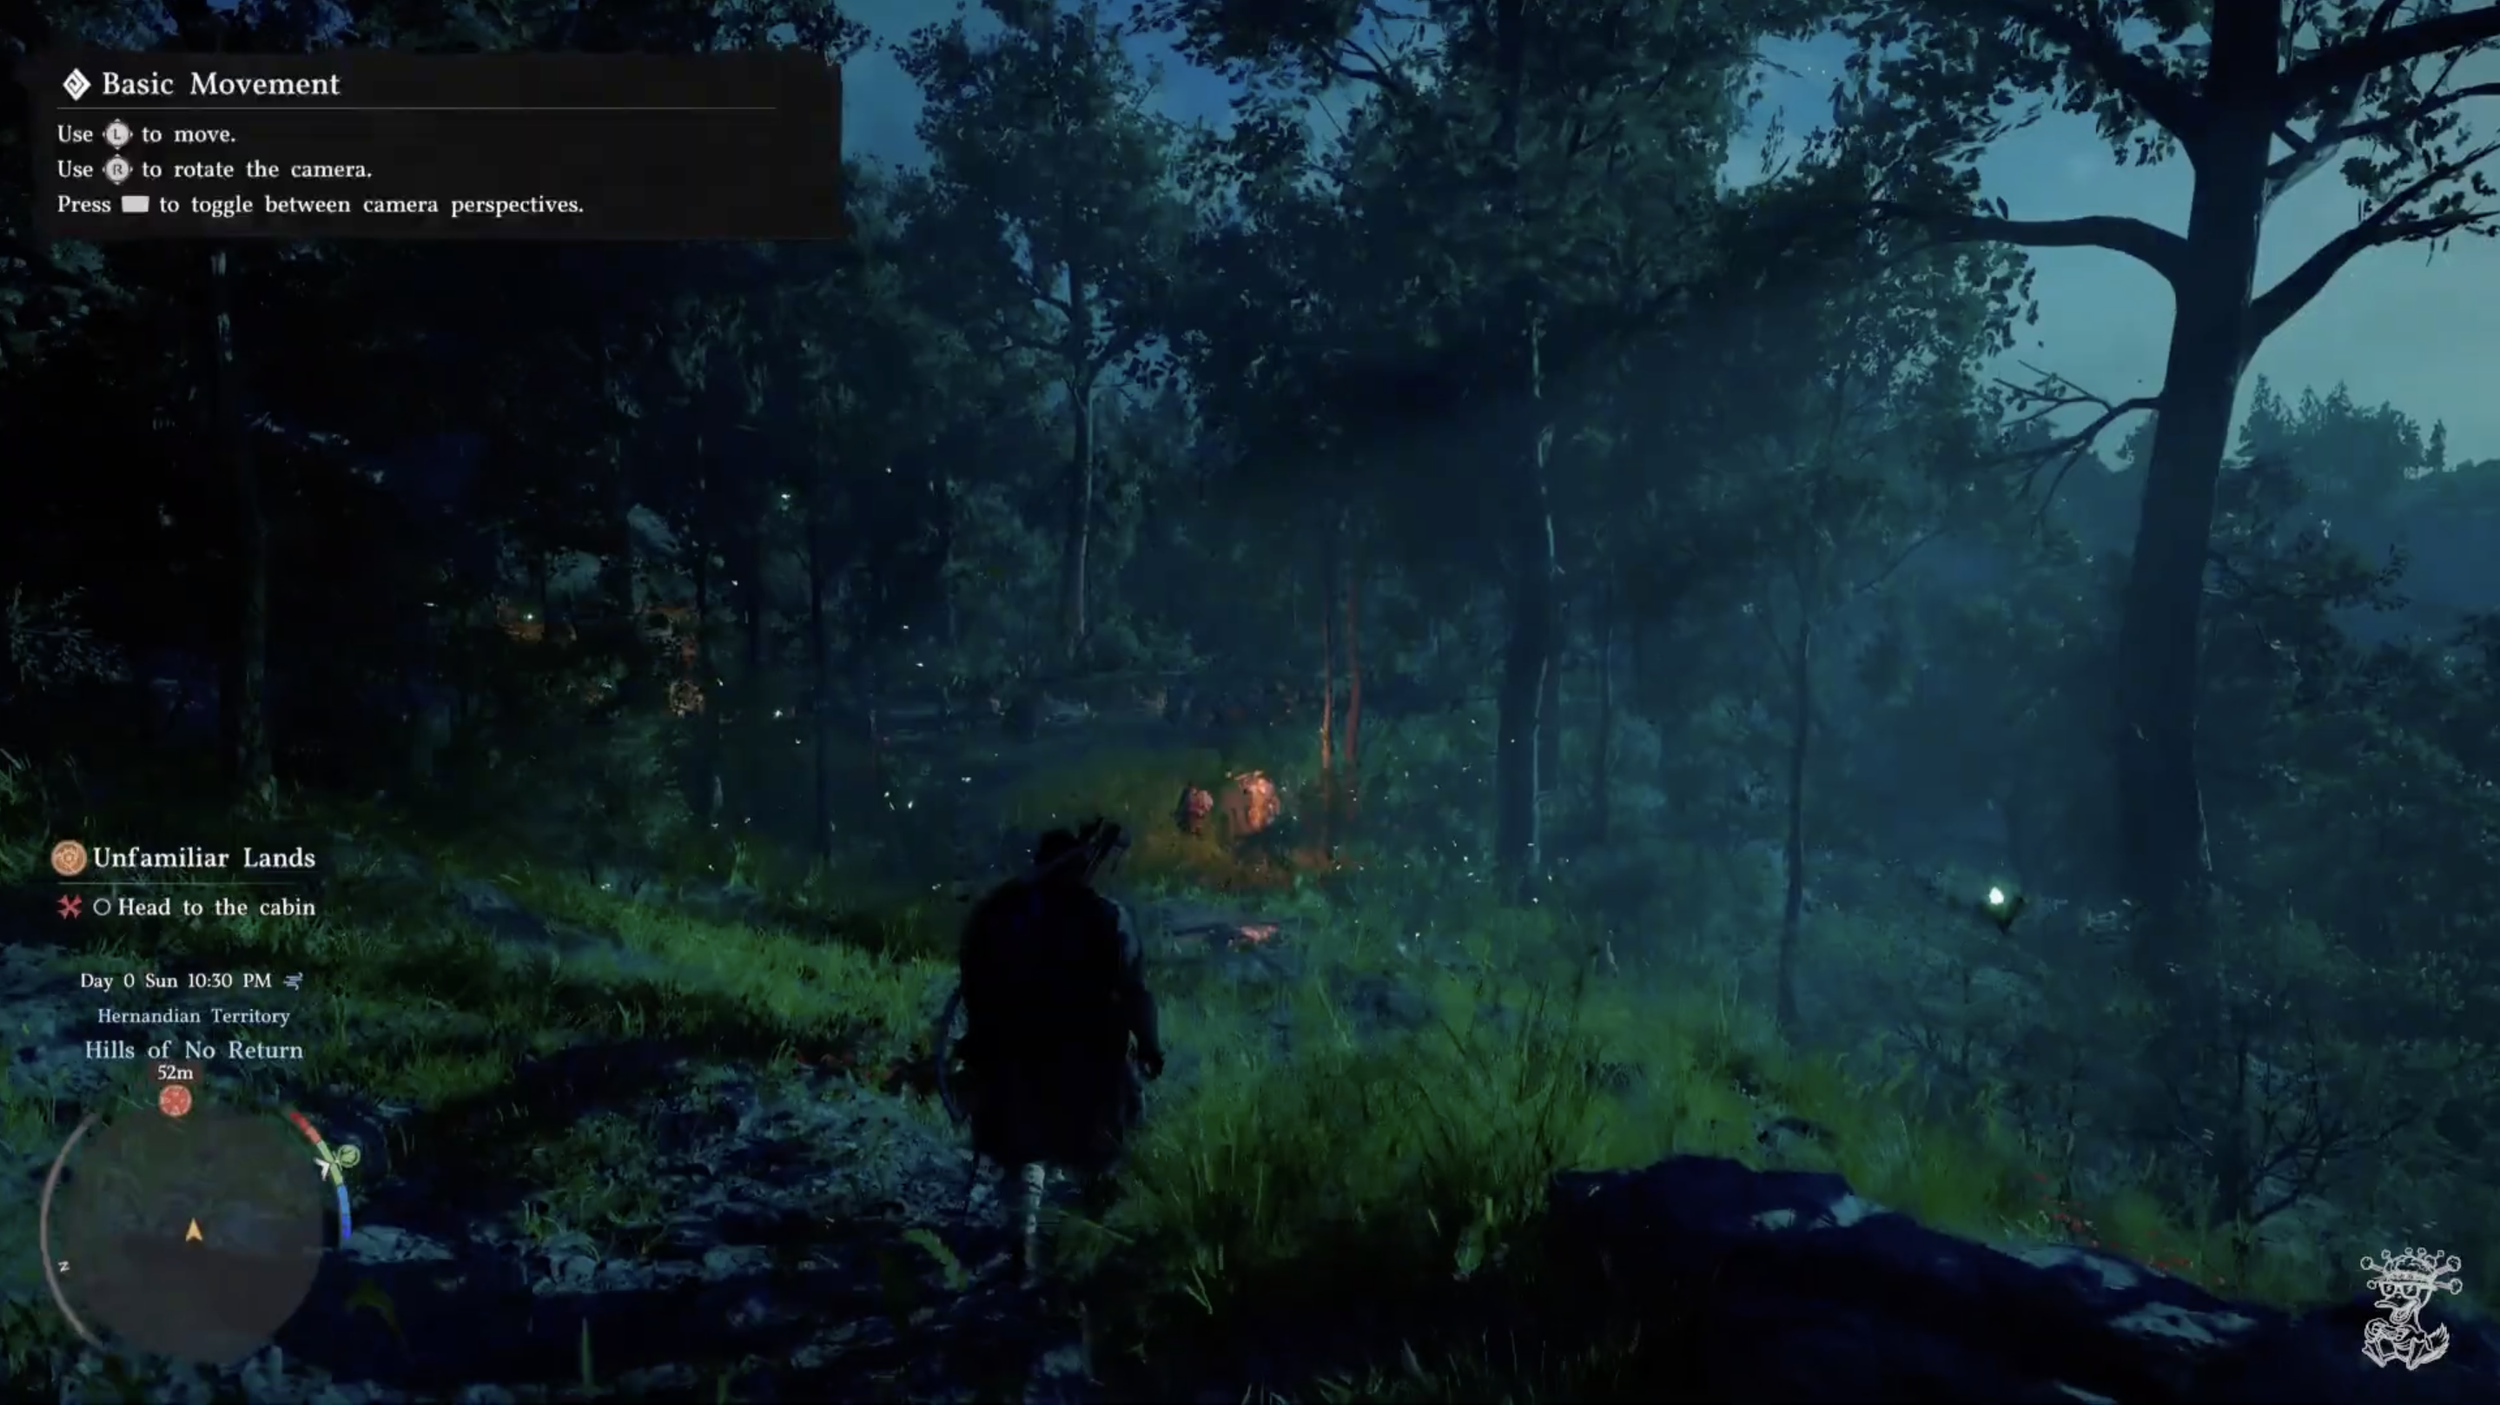
After the intro cutscene you begin at nighttime in the woods. This your first introduction to the game and is just teaching you how to walk and look around, the usual start point of games. From here you’re going to Head to the Cabin which is straight ahead down the path. You' will then find some people hanging outside of the cabin enjoying the fire and talking. This is where youll find Oongka and speak with your first NPC.
After the cutscene, you will continue to walk around the camp and get to meet some of your fellow Greymanes. Speak with Marius and Speak with Ross. Once done speaking with them, you will Enter the Cabin for one final cutscene before Having your first battle and going through the brief fighting tutorial.
This is your fighting tutorial. However, the game barely teaches you how to actually fight. Make sure to also use R2 for heavy attacks and after the tutorial, pull up the menu and go to the skills menu to check out the skills already available to you from the start.
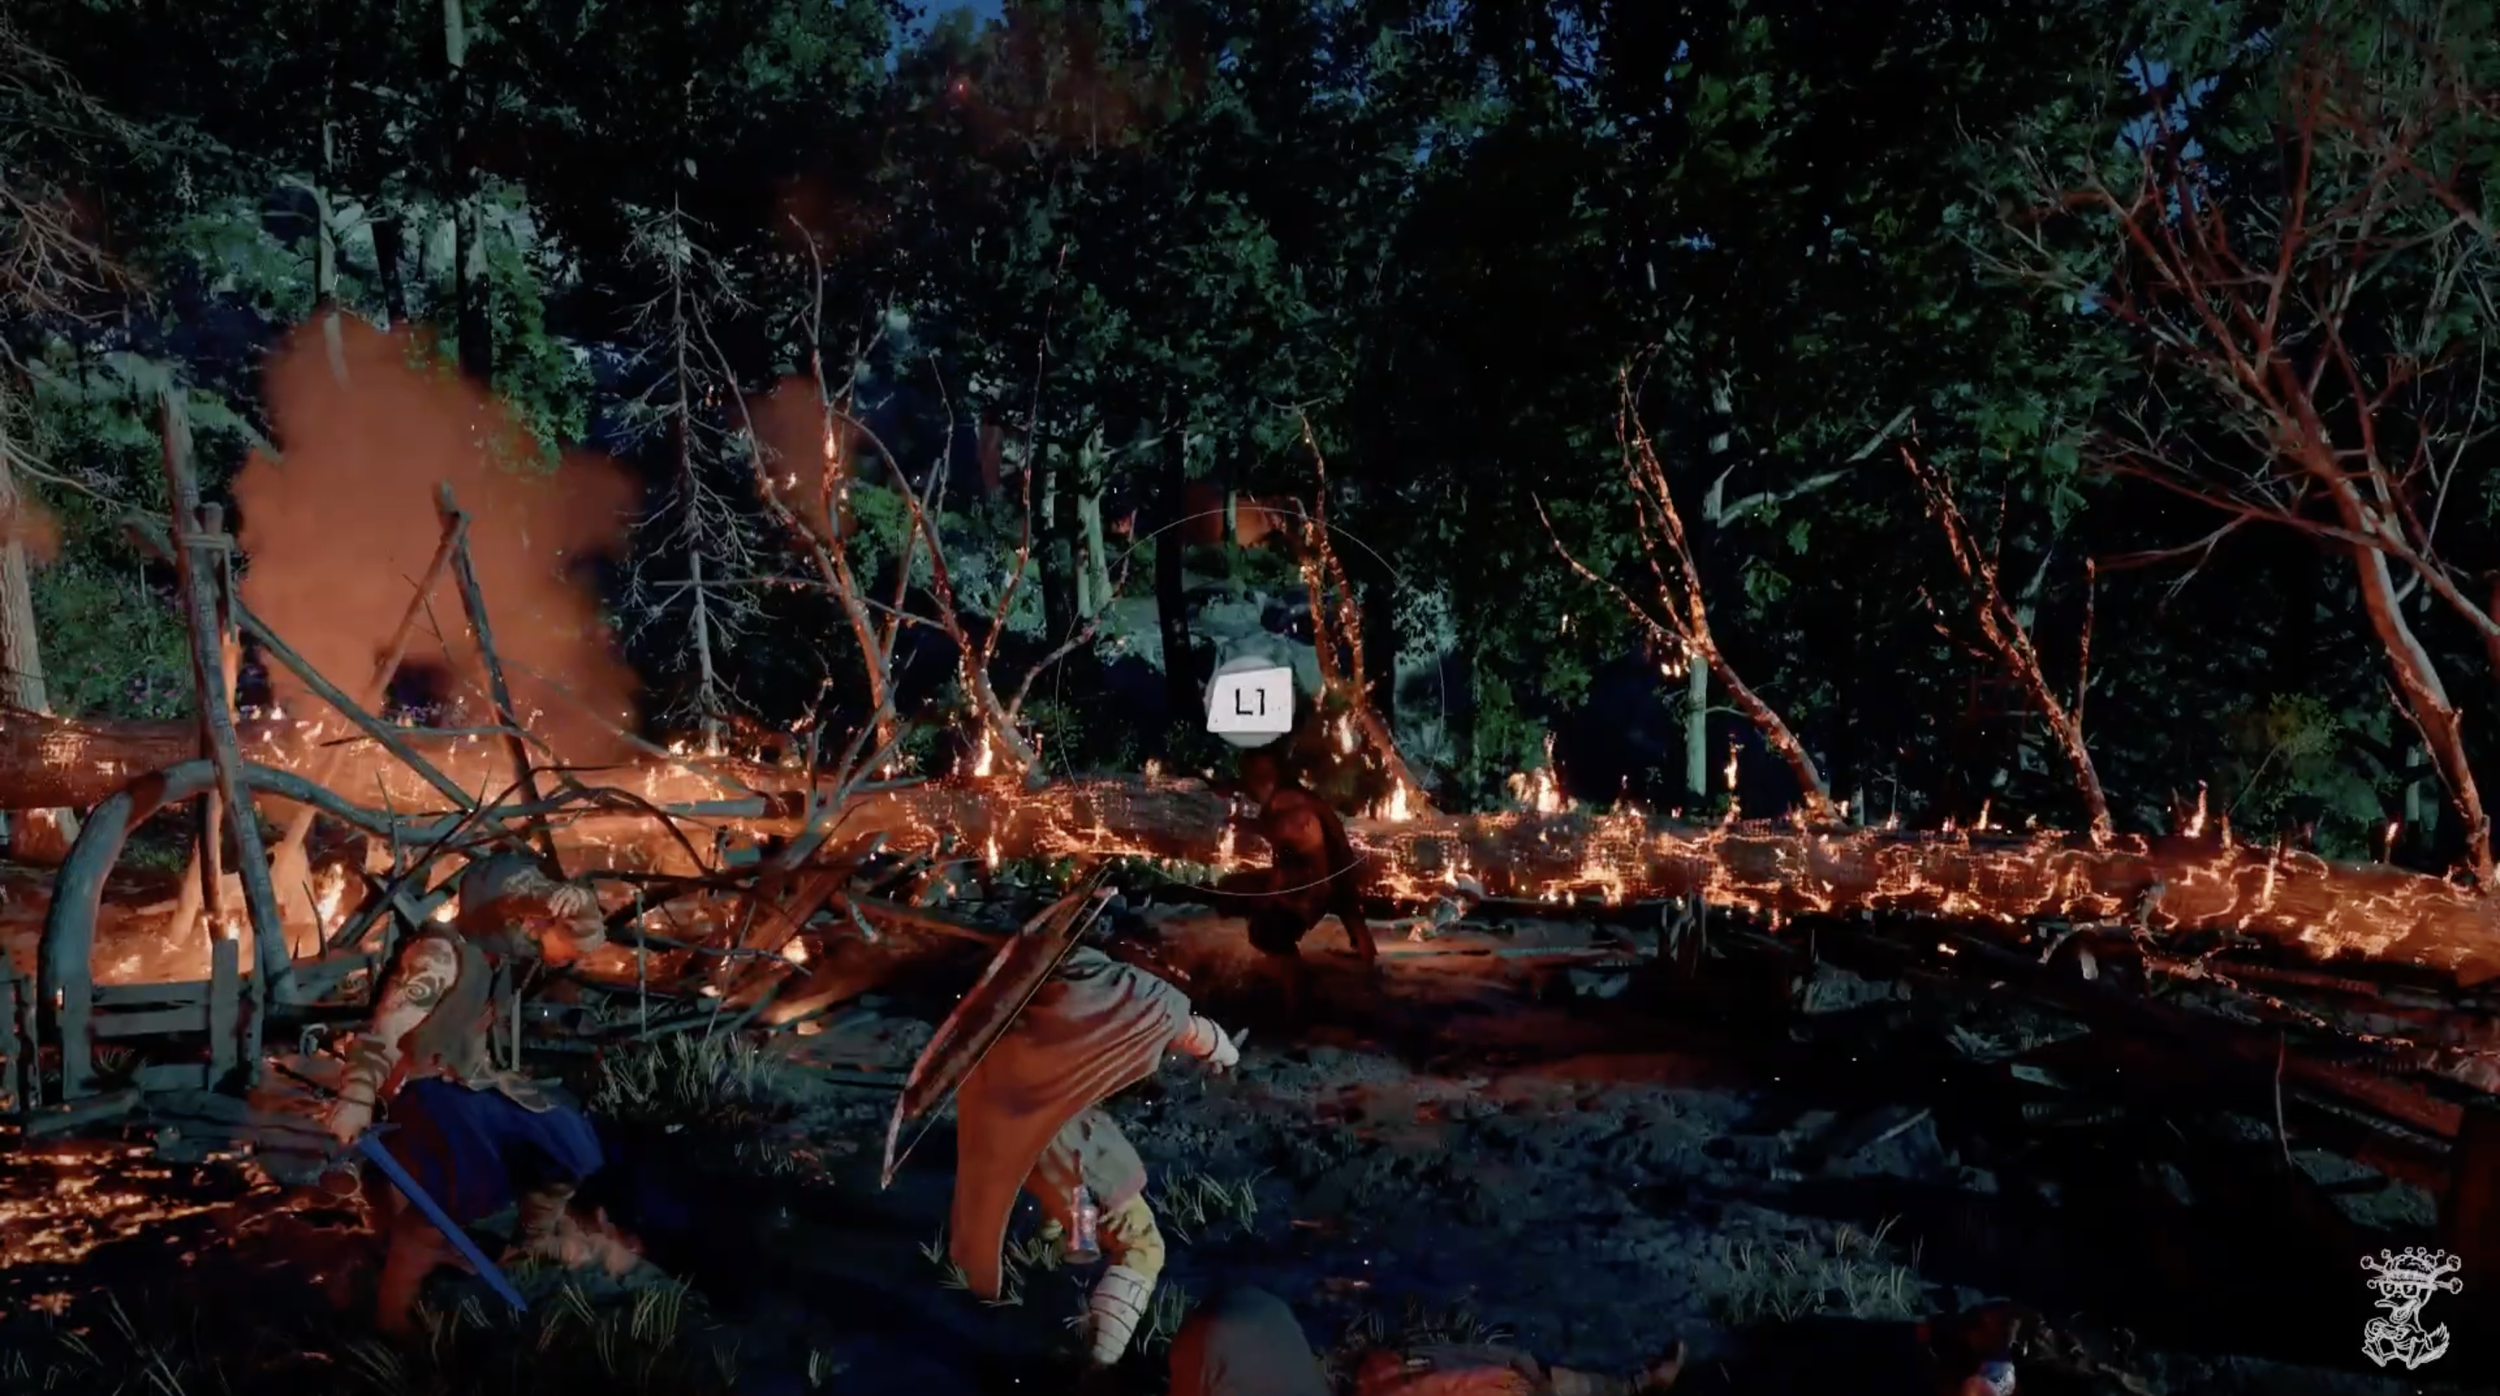
During this battle, you will need to Help Naira, Help Oongka, and Help Yann. Once you do this a cutscene will happen and you meet the leader of the Bleed Bandits. You will have to fight him and his goons and you are supposed to lose this fight, so don’t feel discouraged when he overpowers you. Once you lose the fight, it will go back to another cutscene where you watch Kliff die and come back to life in a unknown place, The Corridor of the Void.

This section is essentially the running, jumping and climbing tutorial of the game. Run, Jump and climb your way through this section, follow along the video if you need any help. Theres no secrets to find here so just follow the path, or take your and enjoy the beautiful environment.
Eventually you will reach a dark corridor and it will show you how to use the lantern. Now this lantern is one of your most important pieces in the game. You will essentially always want this equipped when you’re not fighting as it will allow you to learn things, show you secrets and character dialogue options. Hold Left on the Dpad to pull up the mini menu and then use the joystick and point up to the top right to equip the lantern.
Now that its equipped, push left on the dpad to quickly equip and unequip. Once you’ve done this you will reach another cutscene and you will essentially come back to life and are now sitting in the sunshine on a rock and a man starts to talk to you.
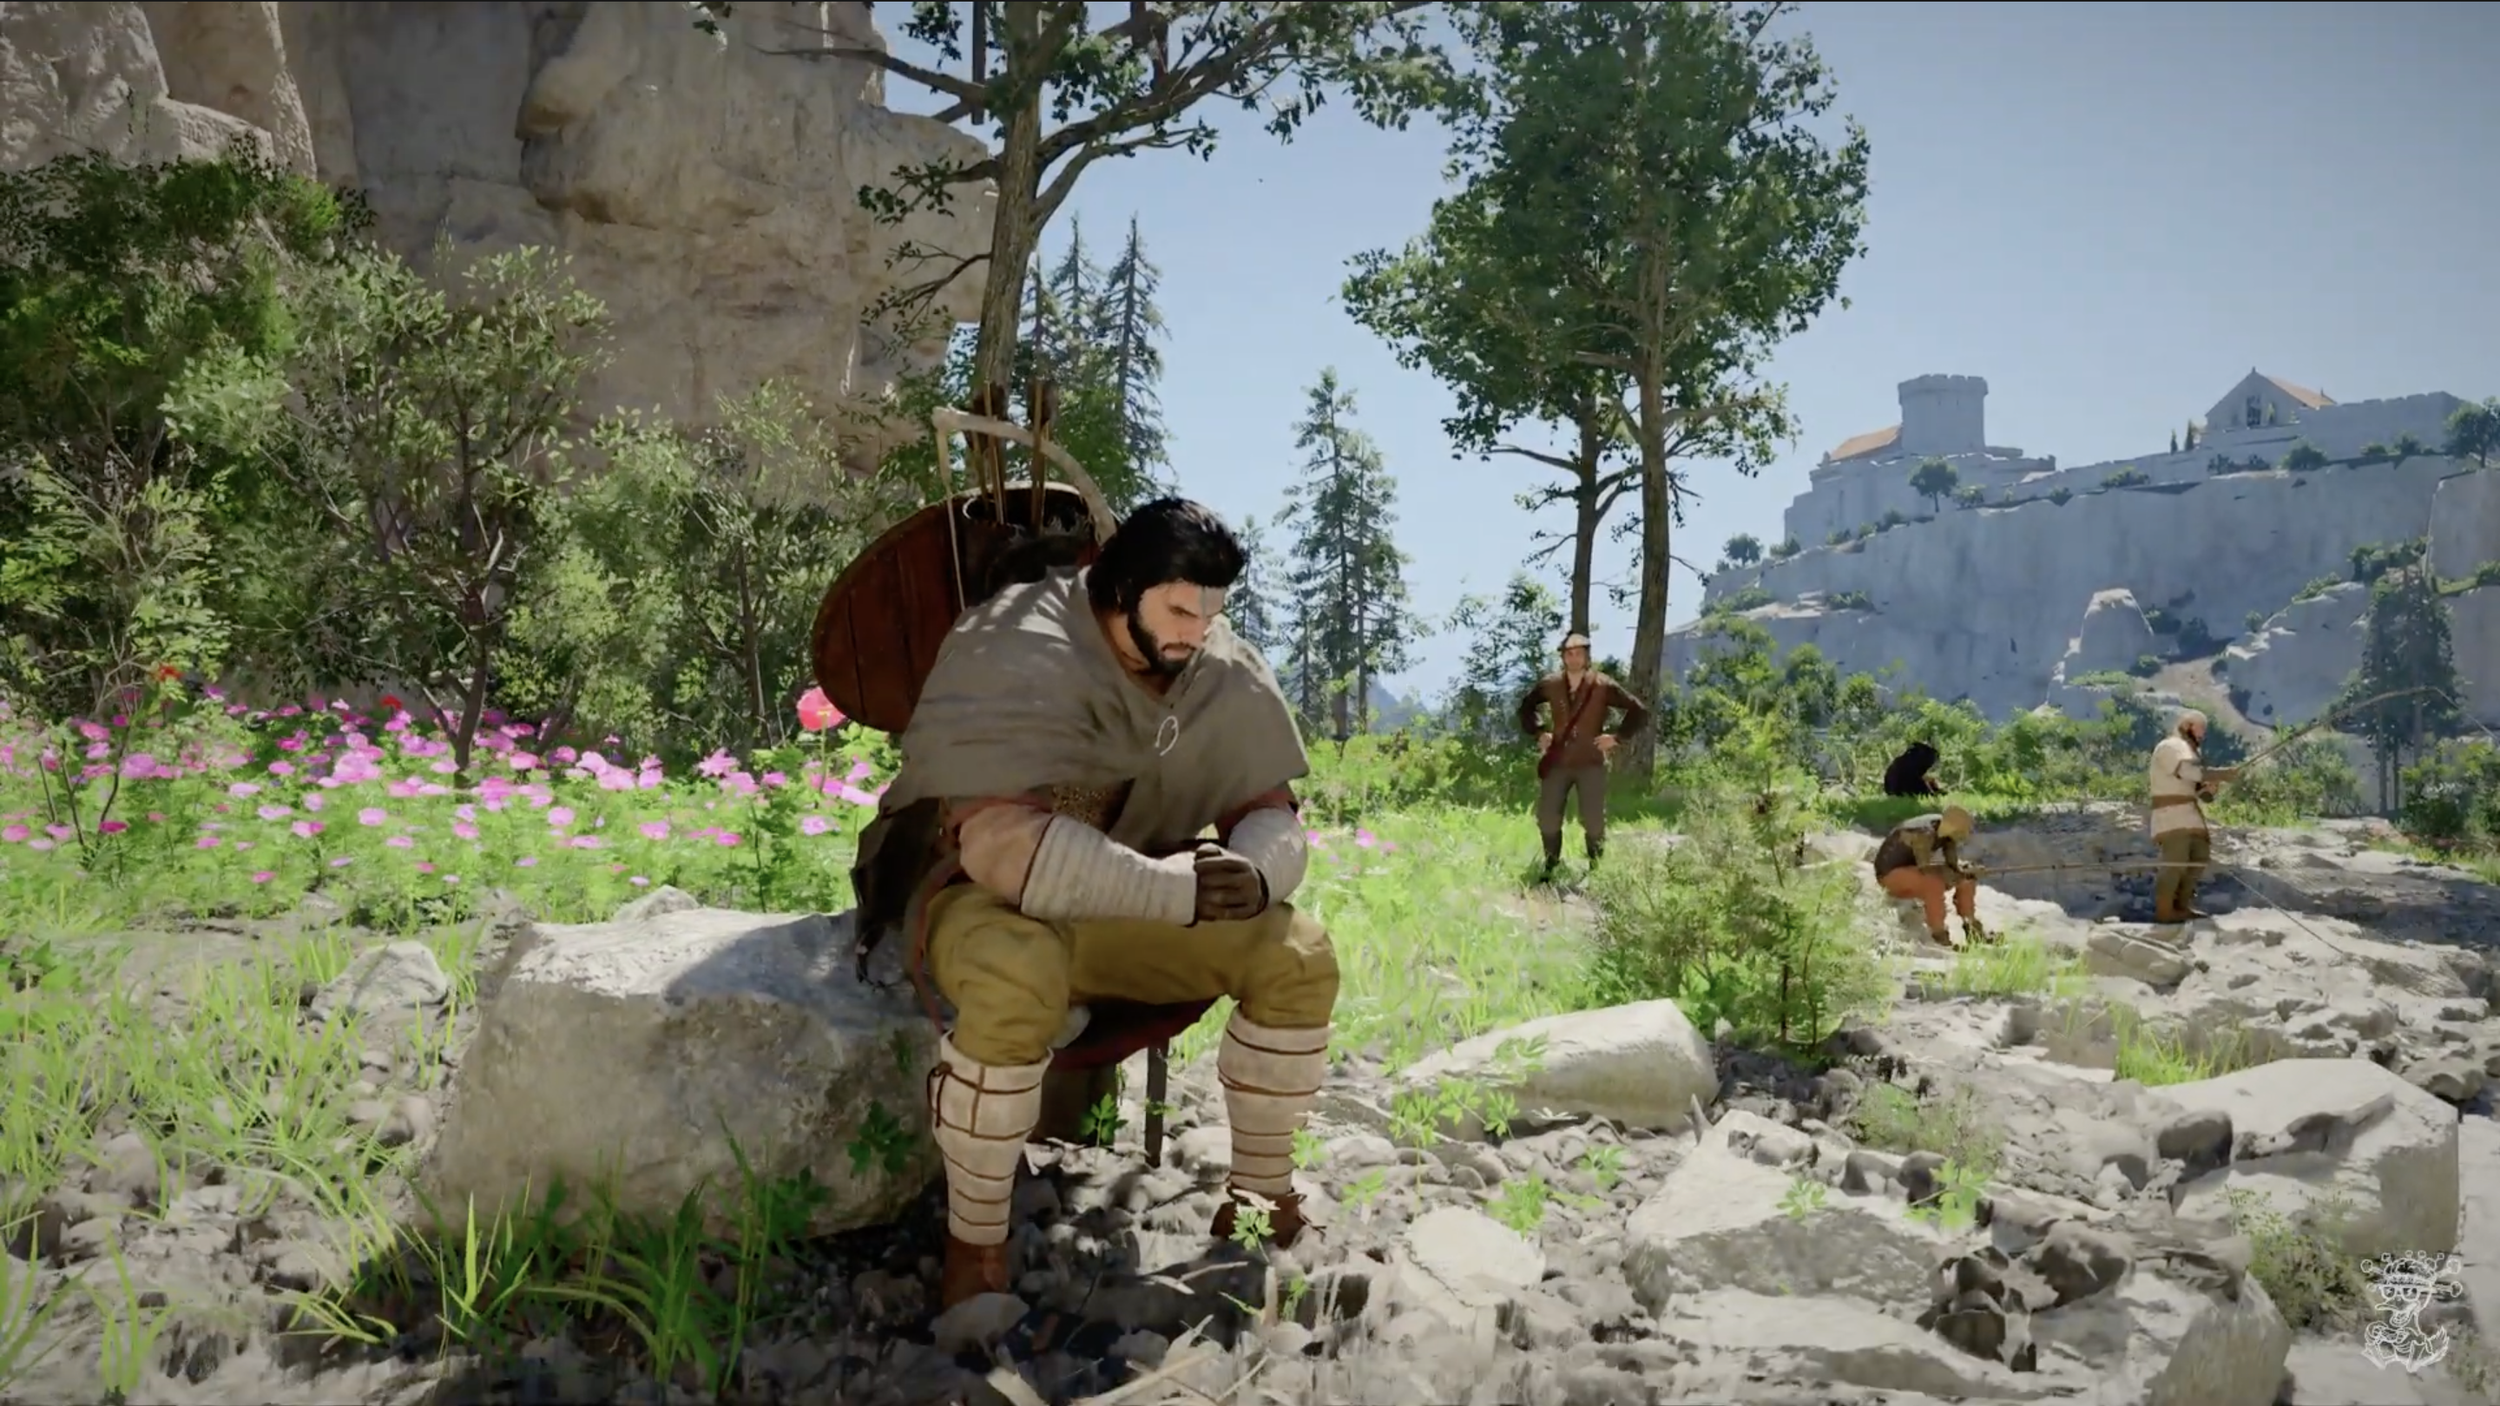
Follow the Man who has started talking to you and he will lead you to his home up the hill. He claims they saved you from the river and he is trying to convince you to stay longer to heal. Then youll hit another cutscene where 2 guys show up to hurt the man helping you. This is when Kliff steps in and you take down the 2 guys for him. After defeating them, you will now follow the man to the main village of the beginning of your game, Hernand. Learn how to hop on your horse, follow the man and take in the views.
Once you roll into Hernand, you will hit another cut scene showing off the city of Hernand and leaving Kliff in the Greymane camp outside the city. This is where your supply chest will be until you get to Chapter 3 and access the new Greymane camp.
In this section you essentially just want to explore the town and get a feel for the game. Around the city you will find a bunch of people ready to give you side missions, the bounty board, plenty of animals to make your companion and much more. As you explore the town, anytime you see a question mark in a grey circle, means there is a vendor your’'e going to want to talk to. You will find these throughout the game, make sure to always talk to them cuz you never know what type of vendor you’ll find.
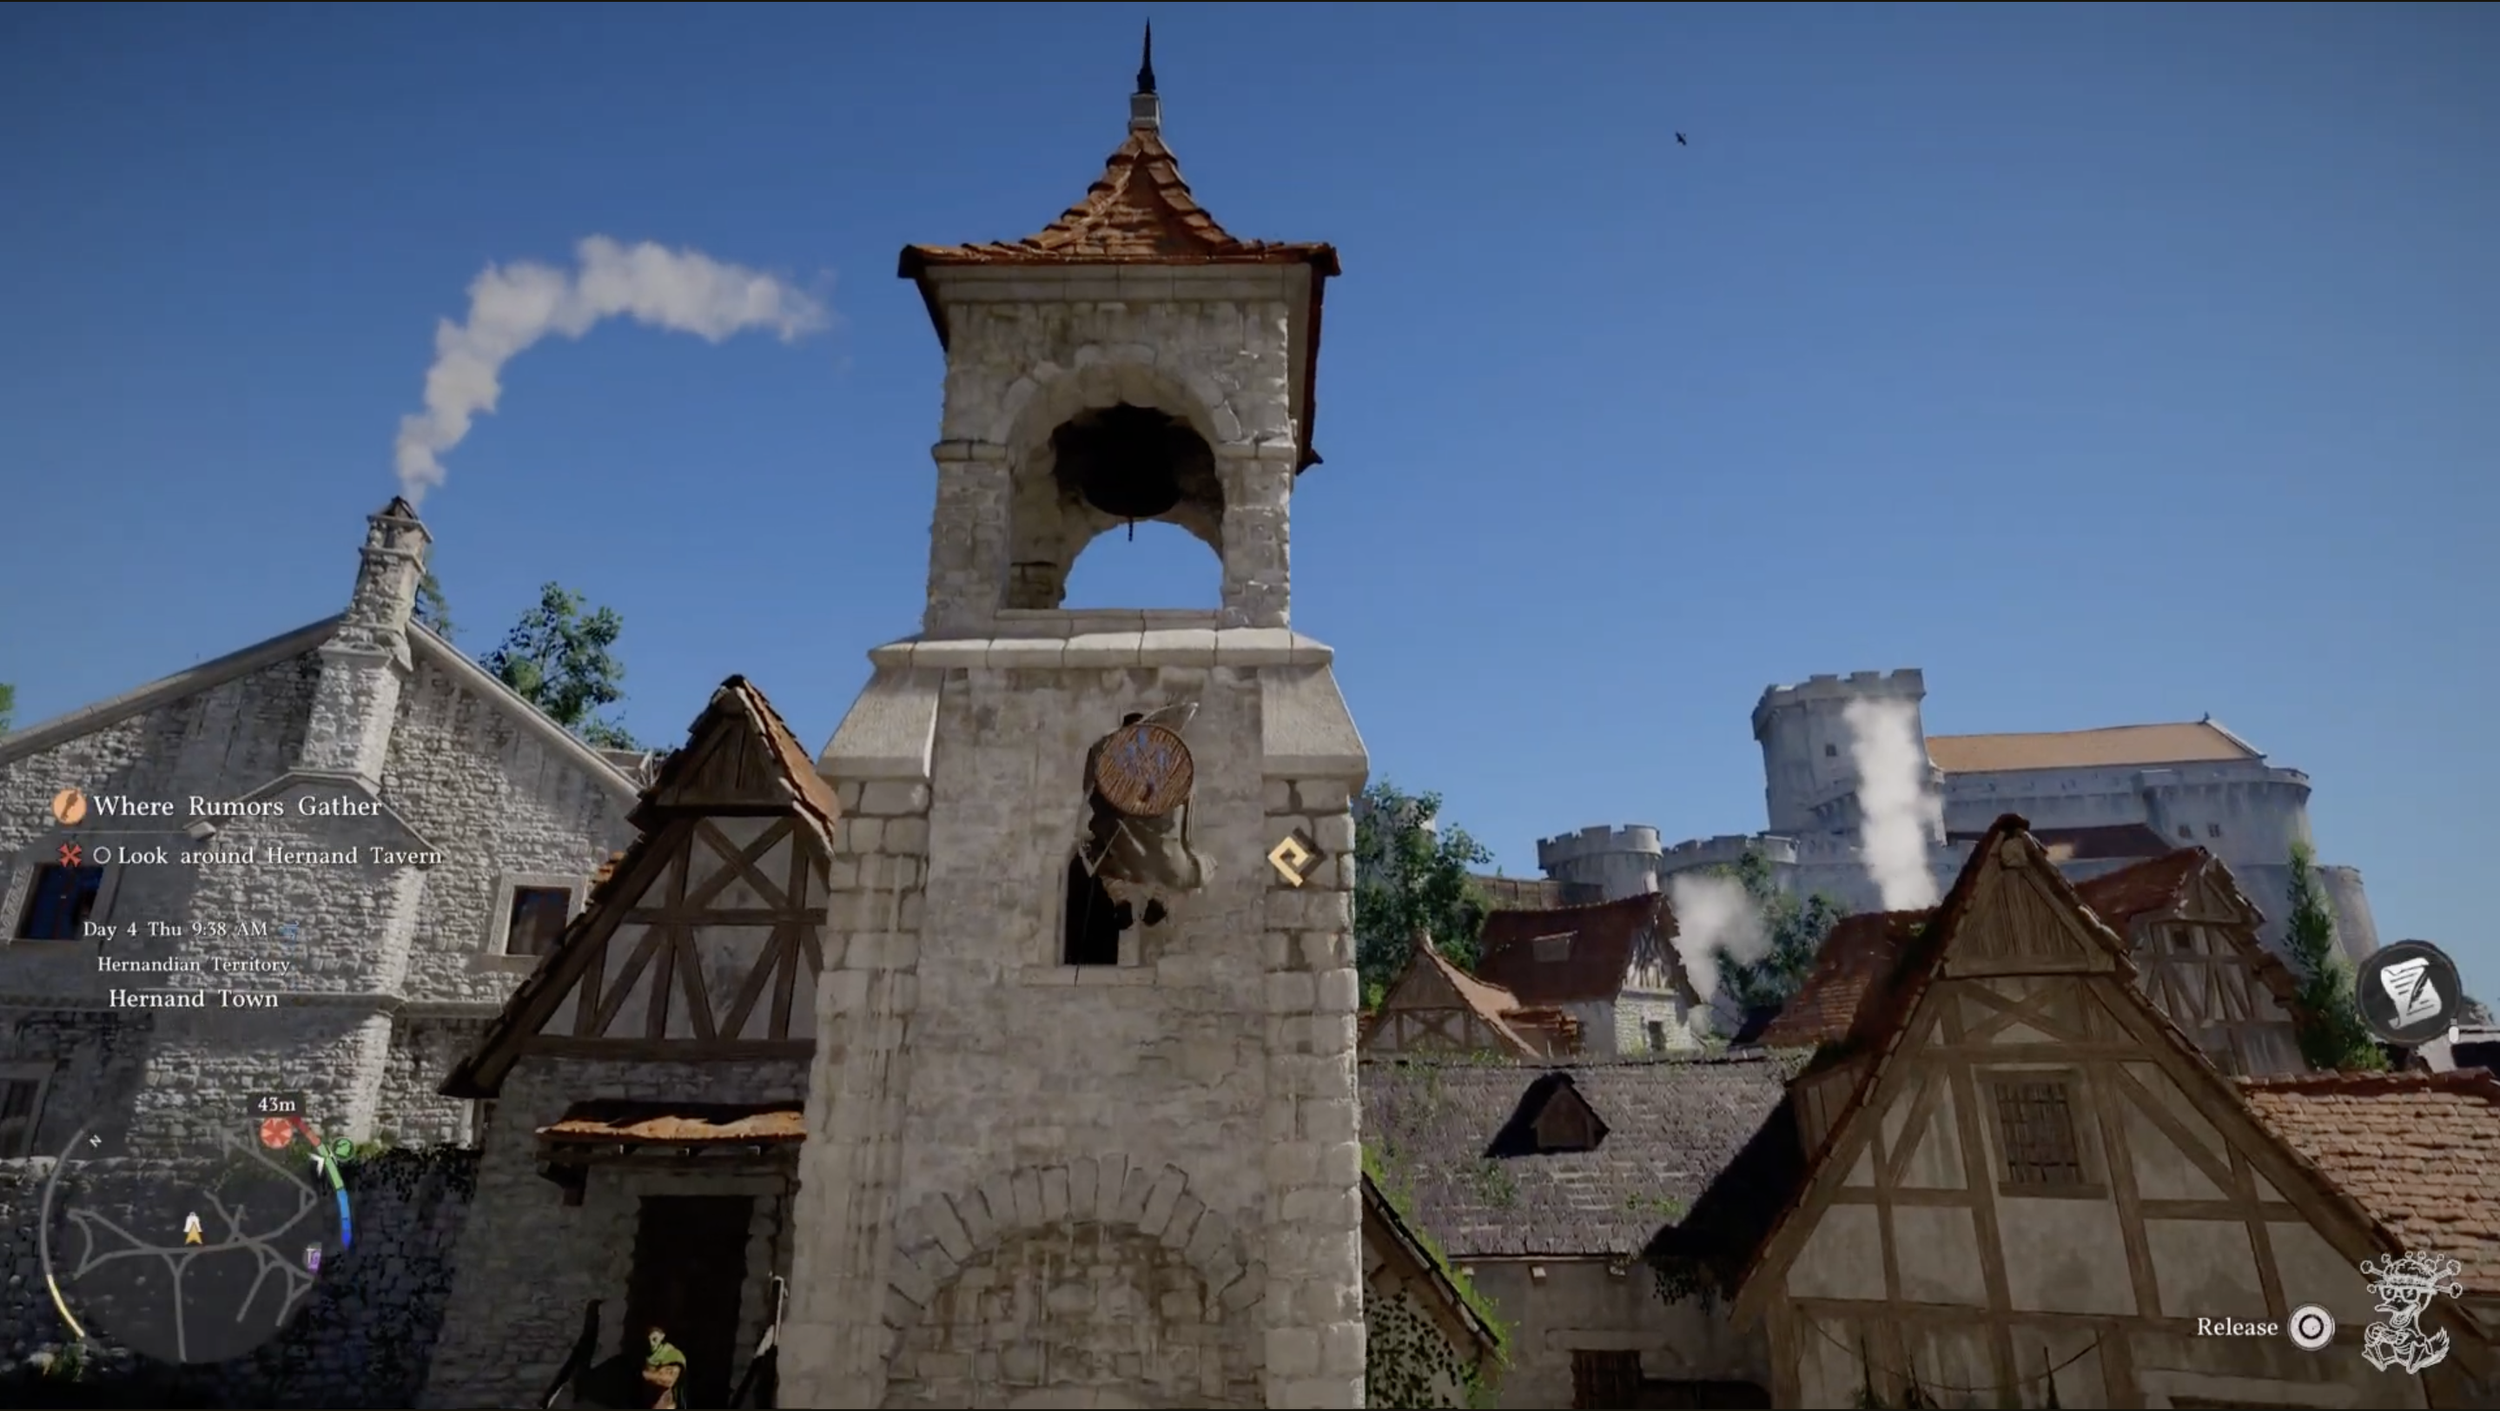
Where Rumors Gather
First thing youre going to want to do as you enter the town is stop at this small Bell Tower. Once you get to the top you’re going to want to Ring the Bell Tower which is going to dispel the fog on your map for your first section of the game. You’ll meet a magical child in a green outfit who is going to come into play as the game continues. Don’t worry about em now, just keep exploring the town picking up missions. or head straight to the tavern for your first mini game.
Once you enter the tavern you’ll meet the bartender, Dahlia on your right who you should talk to to start building your trust level. You’re going to want to build the trust level up to 100 for any vendor you want to get extra perks and secret inventories from like the banker and smithy who you’ll meet later. You can build trust by either talking to them for +5 trust or by gifting them items which each give different trust depending on the item. You can however only get 5 per day for talking to them.
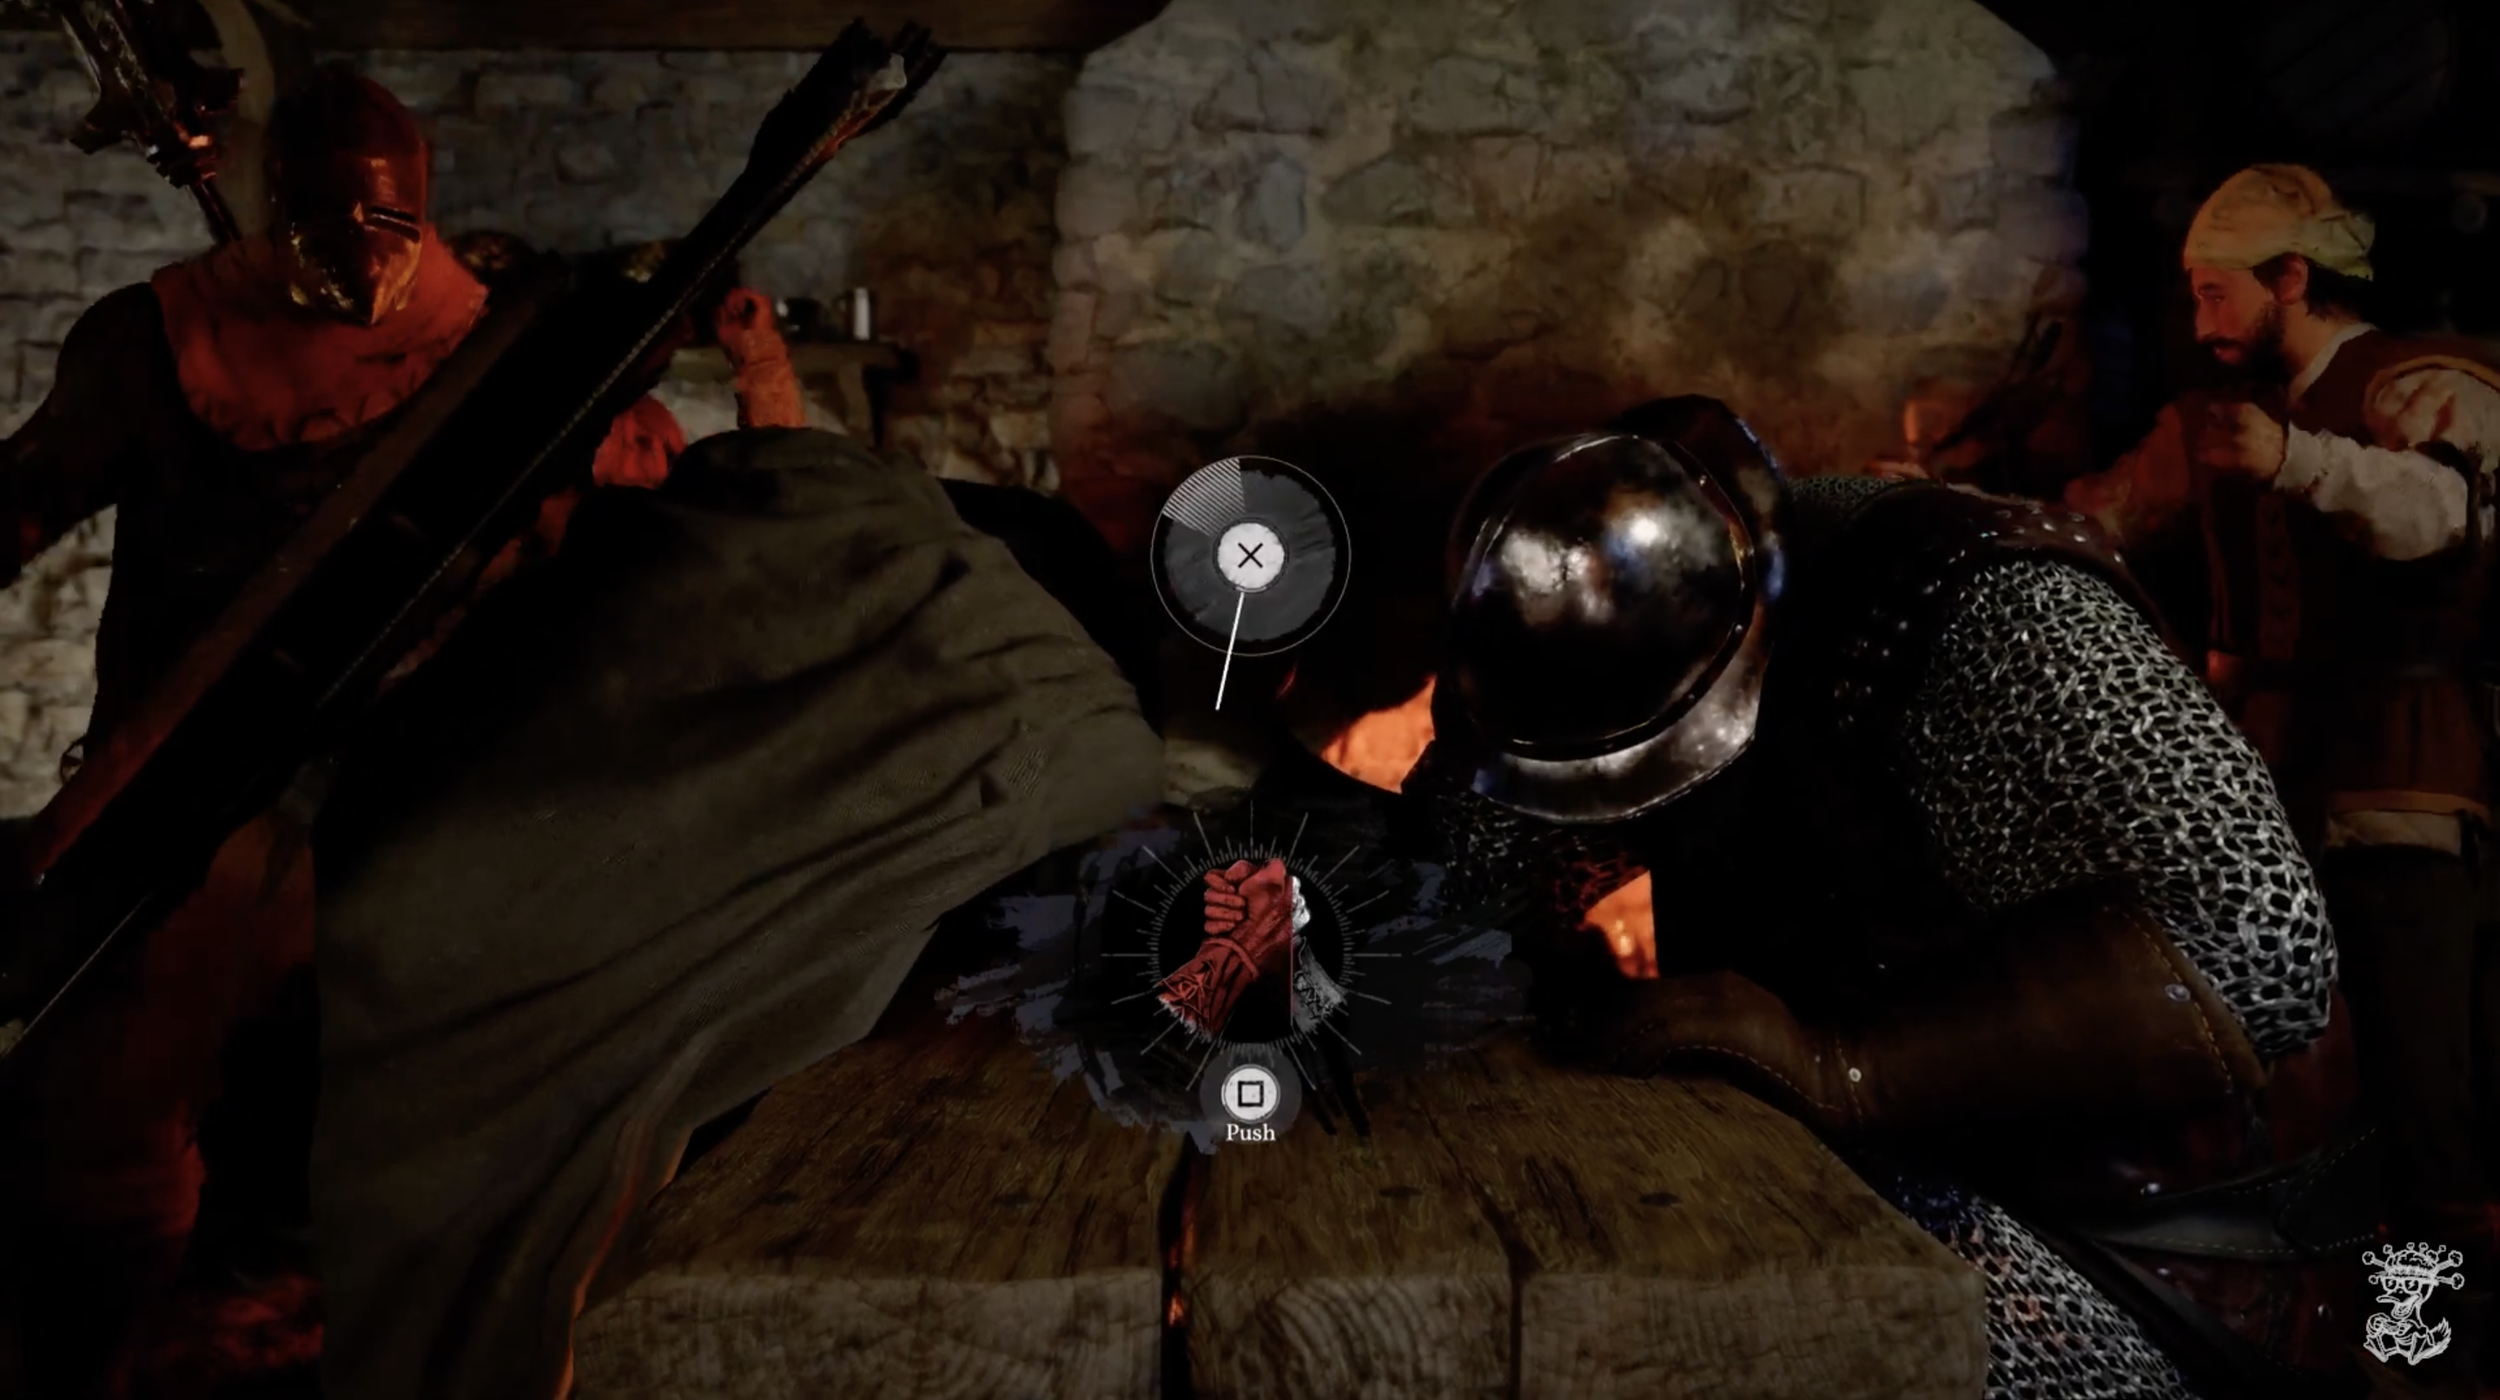
Once you’re done talking to her, move straight ahead to the table in the middle of the room where there is an arm wrestling competition going on. Hold L1 and aim at the table until you see the dialogue to start the competition.
Once you start, your just going to button mash Square. As you do you’'ll see circle with a litle section cut out of it. A line will spin around the circle and when its in the small section of the circle you need to push X. This will then advance your position or win the match.
Mysterious Man
Now that you’ve finished arm wrestling you’re going to head out of the bar and turn left. You’ll find a homeless man getting hassled by some kids. Speak with him and cutscene will happen and he will give you a key. After the cutscene he will leave and if you look on the floor where he was laying you’ll notice its actually a hatch door. Use the key he just gave you and open the hatch. To go down the ladder just walk up slowly right to the hole and Kliff will automatically turn around and climb down the ladder.
True Wisdom in Kindness
Explore the sewers and make your way down a corridor where eventually the ground will collapse before you. You’ll now need to jump across the sections to make your way to the other side. But, before you do, turn left and go to the end to find a treasue chest holding Grace Plate Helm, a helmet you can start to use to boost defense.
Now that you’ve gotten the helmet, you can make your way across the gaps until you finally find a women tied up asking for help. When you get close enough another cutscene will begin. She’ll leave you a letter and then magically disappear. To read the letter you need to open your inventory, find the letter and then push X to “Use” it or read it. When reading anything, hold L1 to focus on it and if it glowing purple you will “Learn” it. Once you’ve learned it, you can sell it to a vendor to free space in your inventory.
Climb back out of the sewers and head to the right past the tavern. You’ll find the same child from the bell tower but this time she’s trying to get her cat which is stuck on the roof. Just climb on top of the roof and hold L1 while aiming at the cat then hold square to pick it up. Then jump down and hand it back to the child where another cutscene will happen. The child will then disappear and leave behind on the floor Shais Pendant. Just hold onto it, you wont need it for a while.
Heart Beyond Borders
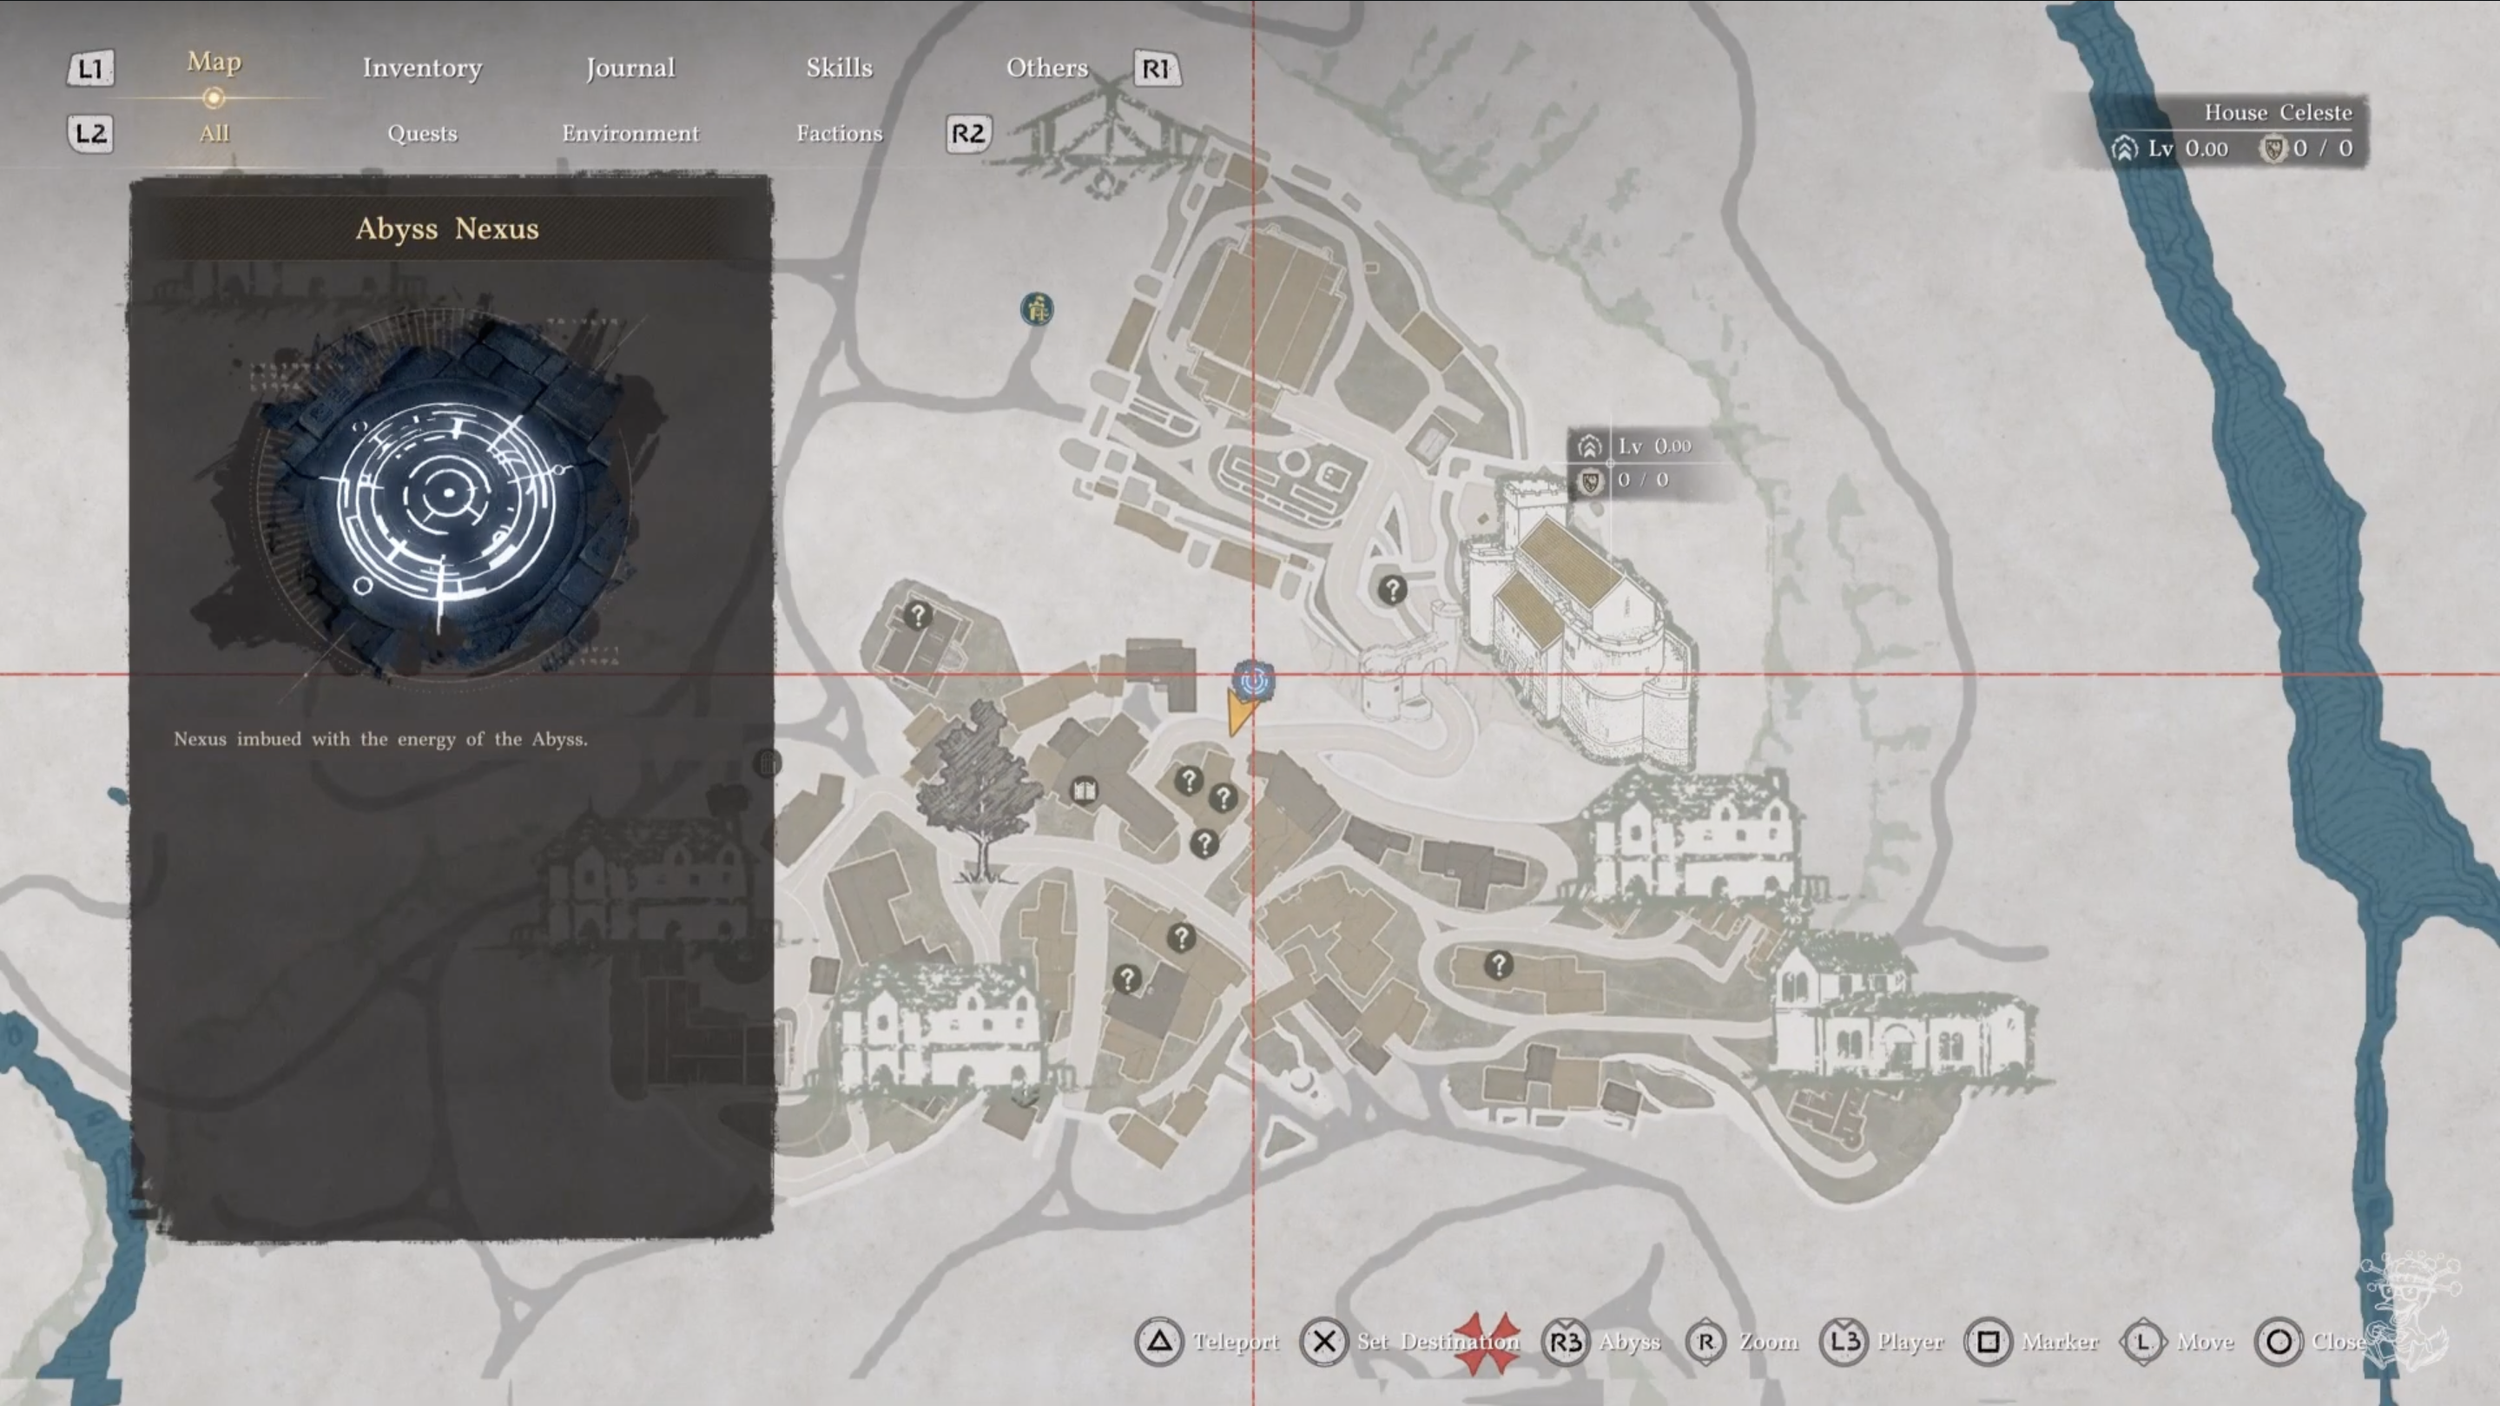
Find your First Abyss Nexus (Fast Travel)
This isn’t part of the main mission but it will really help you out as you go explore. If you don’t do this, every time you run out of town for a mission, you’re going to have to run all the way back so I definitely advise doing this. It will only take about a minute. Click the photo for video of where it is.
Actions Speak Louder Than Words
Help the Distressed Villagers
Now that you’ve got your fast travel you need to go explore the town. Go to all of the ? marks on the map and speak with the villagers. Sell any random things you have and buy any small bag you can afford. They are really cheap and expand your inventory by one slot. It doesnt matter what order you talk to everyone, just make sure to speak with everyone as some of them will have mini missions for you or things youll want to use like Turnali the blacksmith to upgrade your gear. Turnali will give you an axe and ask you to get him 3 Fine Timber which you’re going to need to finish before un upcoming mission Go to Hernand Castle. So make sure you talk to him and go cut down some trees.
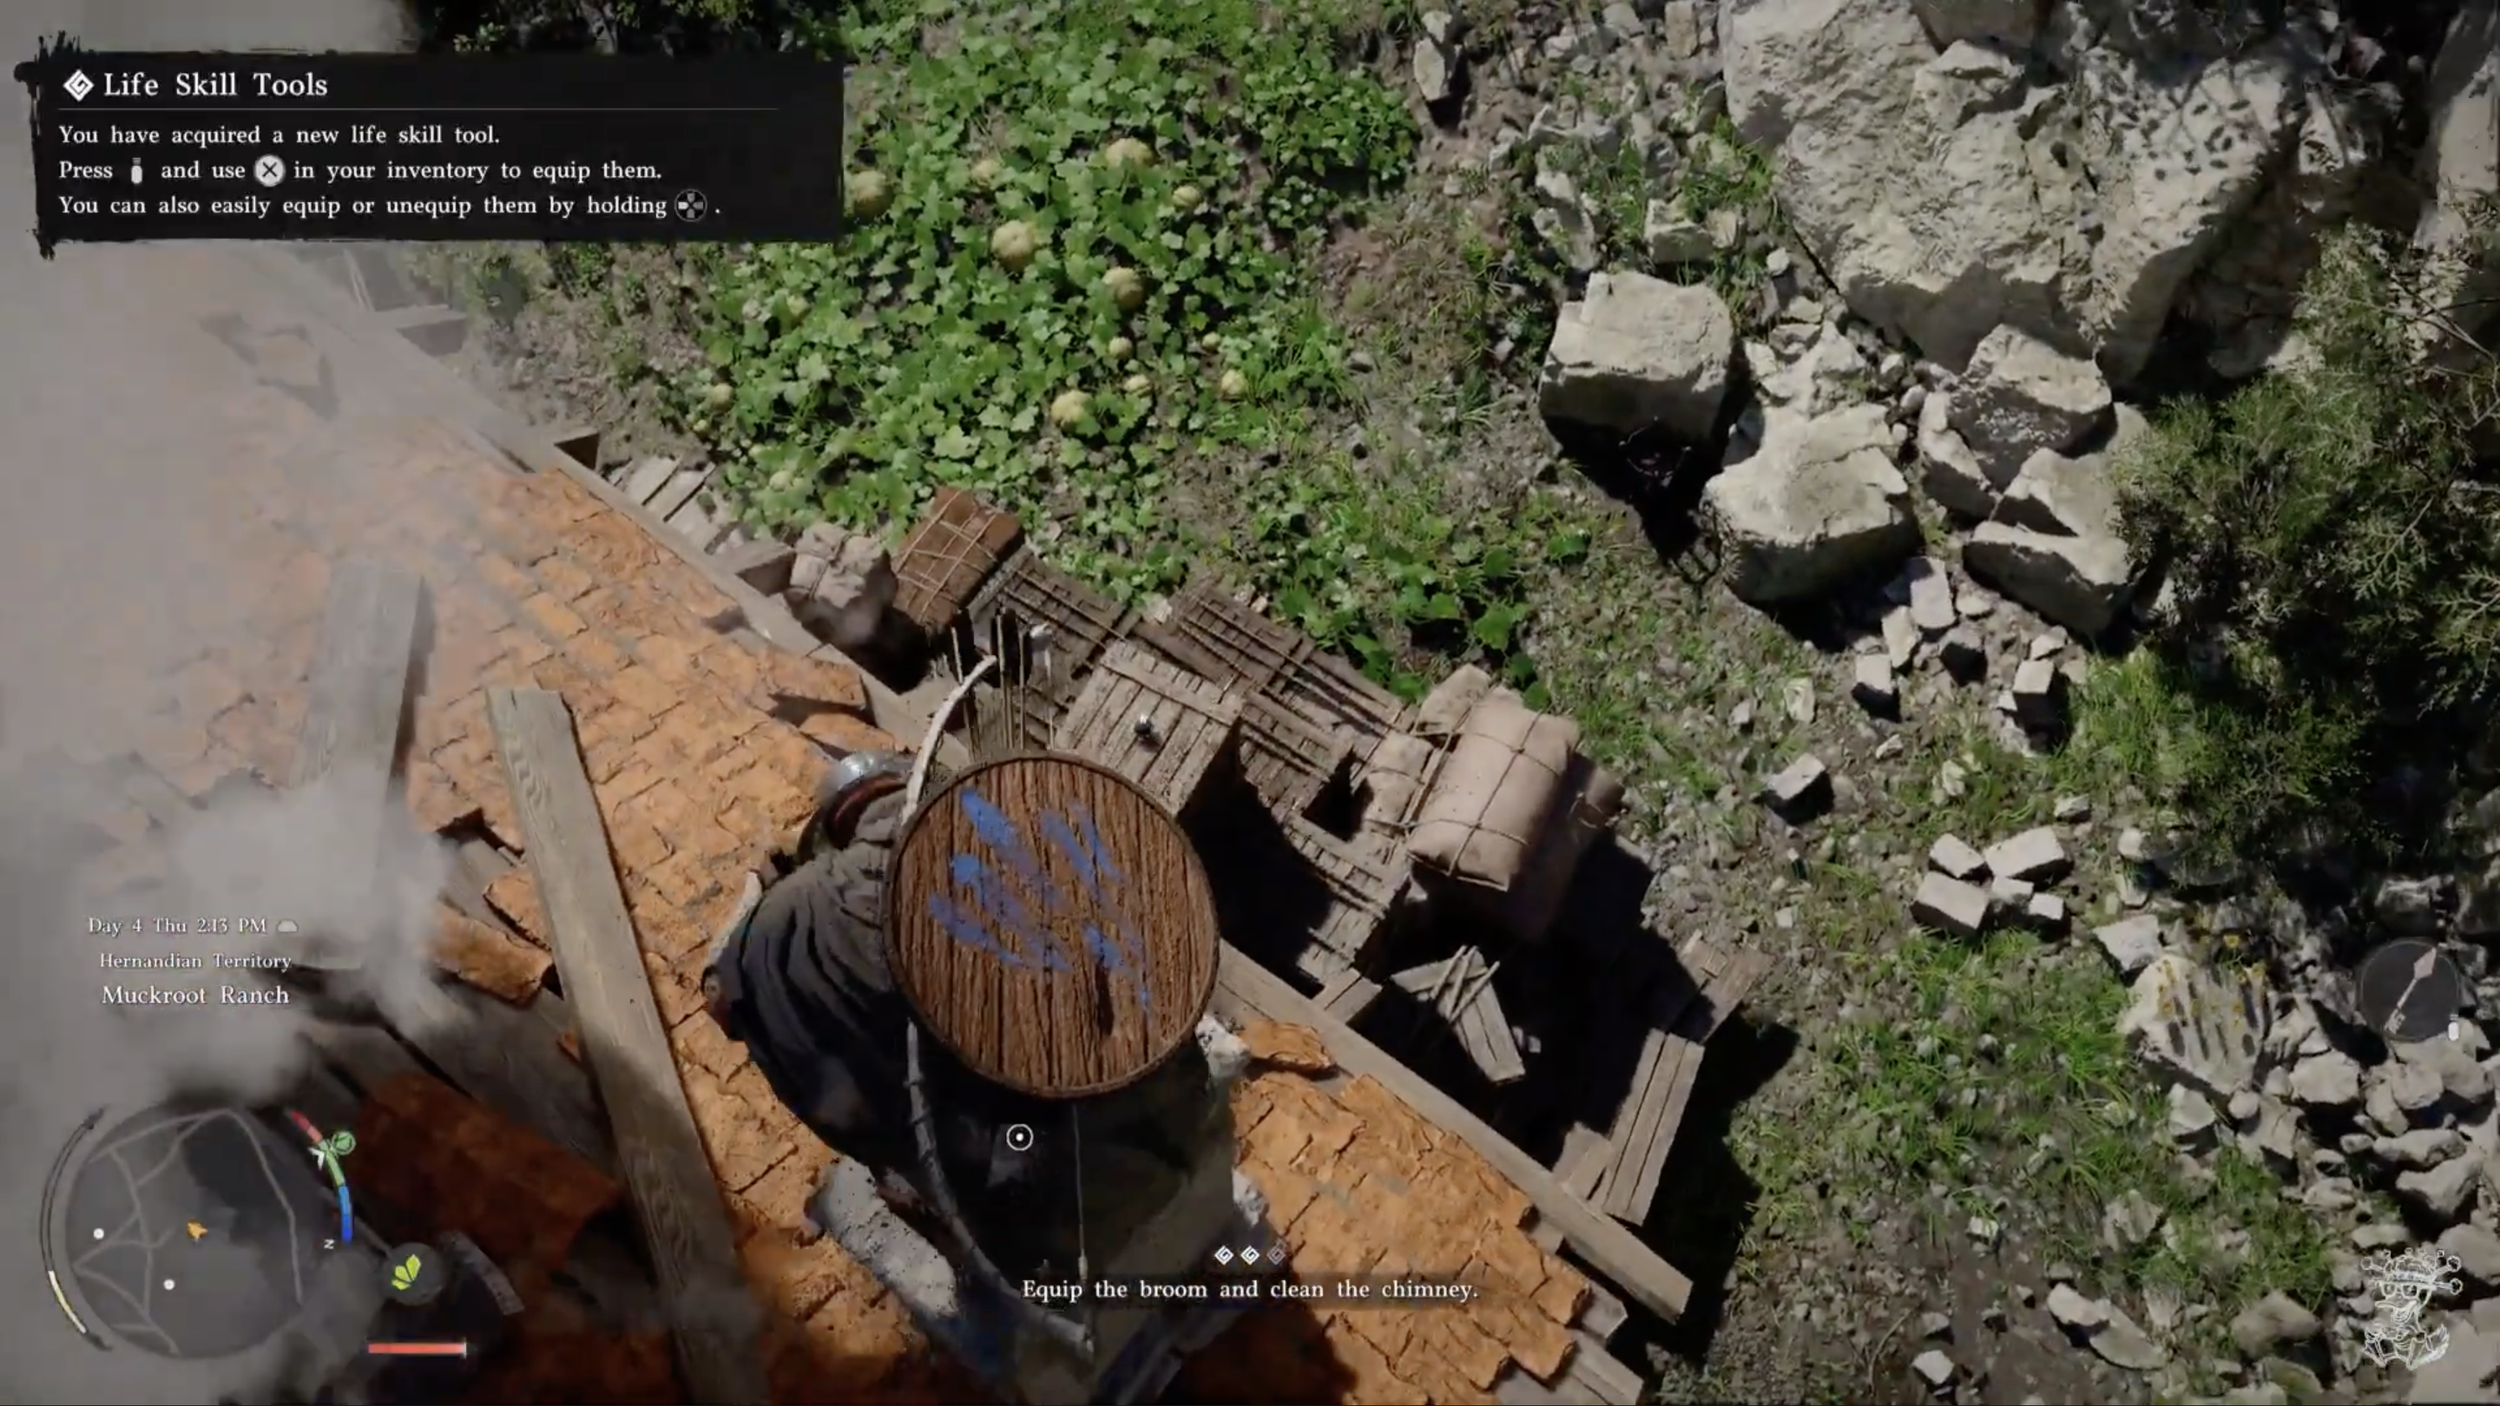
Run to the south end of town as It starts to get down towards the farms and look for a house with a lot of smoke coming out of the chimney. Once you get there you’'ll find a woman chewing out her idiot husband who is trying to get out of helping around the house. They’ll need you to clean their chimney and this can actually end up being really annoying.
What you’re going to need to do is climb on the roof and then actually climb on top of the chimney. Once you do that, access your inventory, hold left on the dpad then use the right joystick and aim to the top left. then use the dpad again to the left or right until you select the broom. Now you can hold L1 and look down at your feet and youll see a button to clean the chimney. Then you’ll hit another cutscene and complete Actions Speak Louder than words. Before you leave though, grab the palmer pill on the boxes behind the house. Click the photo to watch the video guide of the mission.
Mystical Key
Now that you’re done helping the villagers you need to head to Hernand Castle. But, if you don’t have the right gear, the guards wont let you in. To get the right clothes you’ll need to finish Turnalis Request. Cut down a tree on the outskirts of the city and chop it down until you can collect the wood. You’ll need 3 pieces of Fine Timber. Once you have that, return to Turnali and he’ll give you the Hernandian Attire.
Now that you have that, head over to Hernand Castle and make your way through the castle. You’ll actually need to pass through a second gate with more gaurds before finally getting to the main castle. Once in the main castle, immediately turn right and head up the stairs. You then need to find the right door that your mystical key opens.
Once you find the correct door, you’ll find a glowing treasure chest in the middle of the room. Open it and get your first Faded Abyss Artifact. This will then open a mystic gate in the wall and you will need to Go Through the Shining Gate.
Polar Opposites
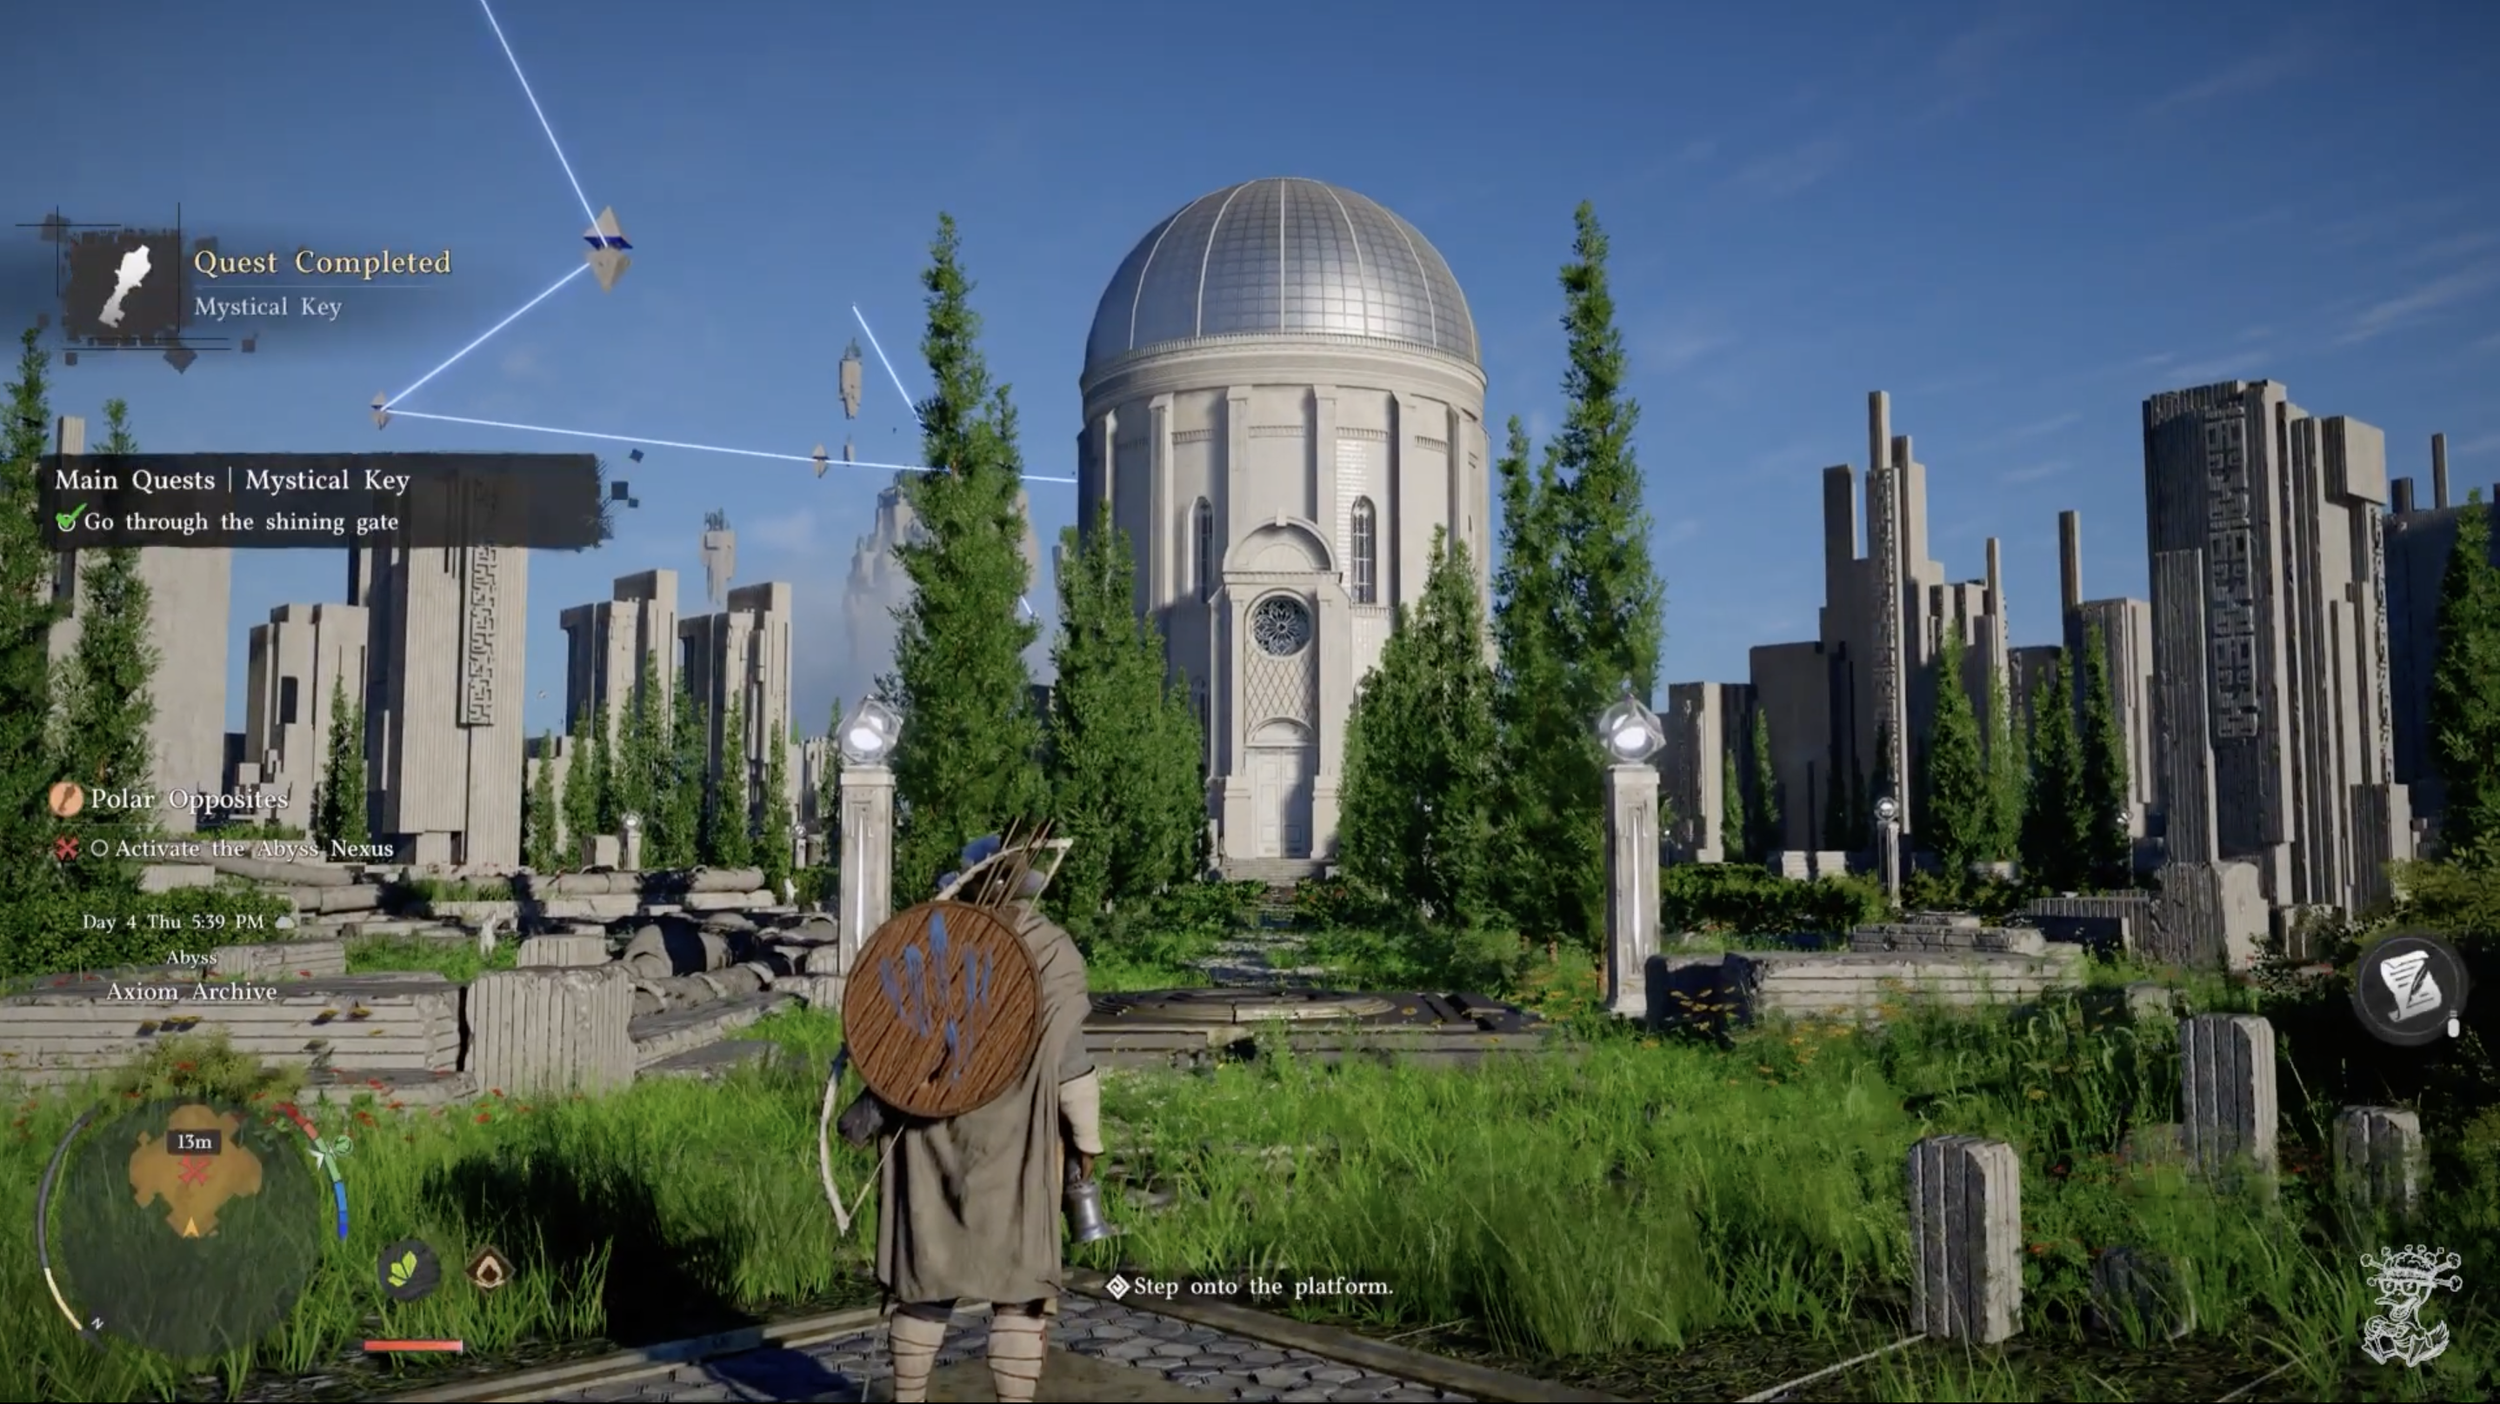
Once you go through the portal you arrive in a new crazy location pictured here. Just head straight ahead and stand on the platform activating an Abyss Nexus. From there head straight ahead and Go Toward the Building. When you get close enough a cutscene will begin. A white bird will fly towards you speaking in a familiar voice. She will give you your first power Axiom Force which will get you inside the building. Remember this white bird, throughout the game it will fly up to you, land on your shoulder and give you a letter you’ll want to read.
Turn around to your right and start your first puzzle. Use Axiom force to control the two square platforms to redirect the power to the building. Follow the video guide here for more help. Once you spin them to the correct position turn back around and enter the building. A cutscene will begin and you’ll learn a little bit about Kliff and your overall mission of the game. Restore balance between the Abyss and the normal world.
Abyss Without Balance
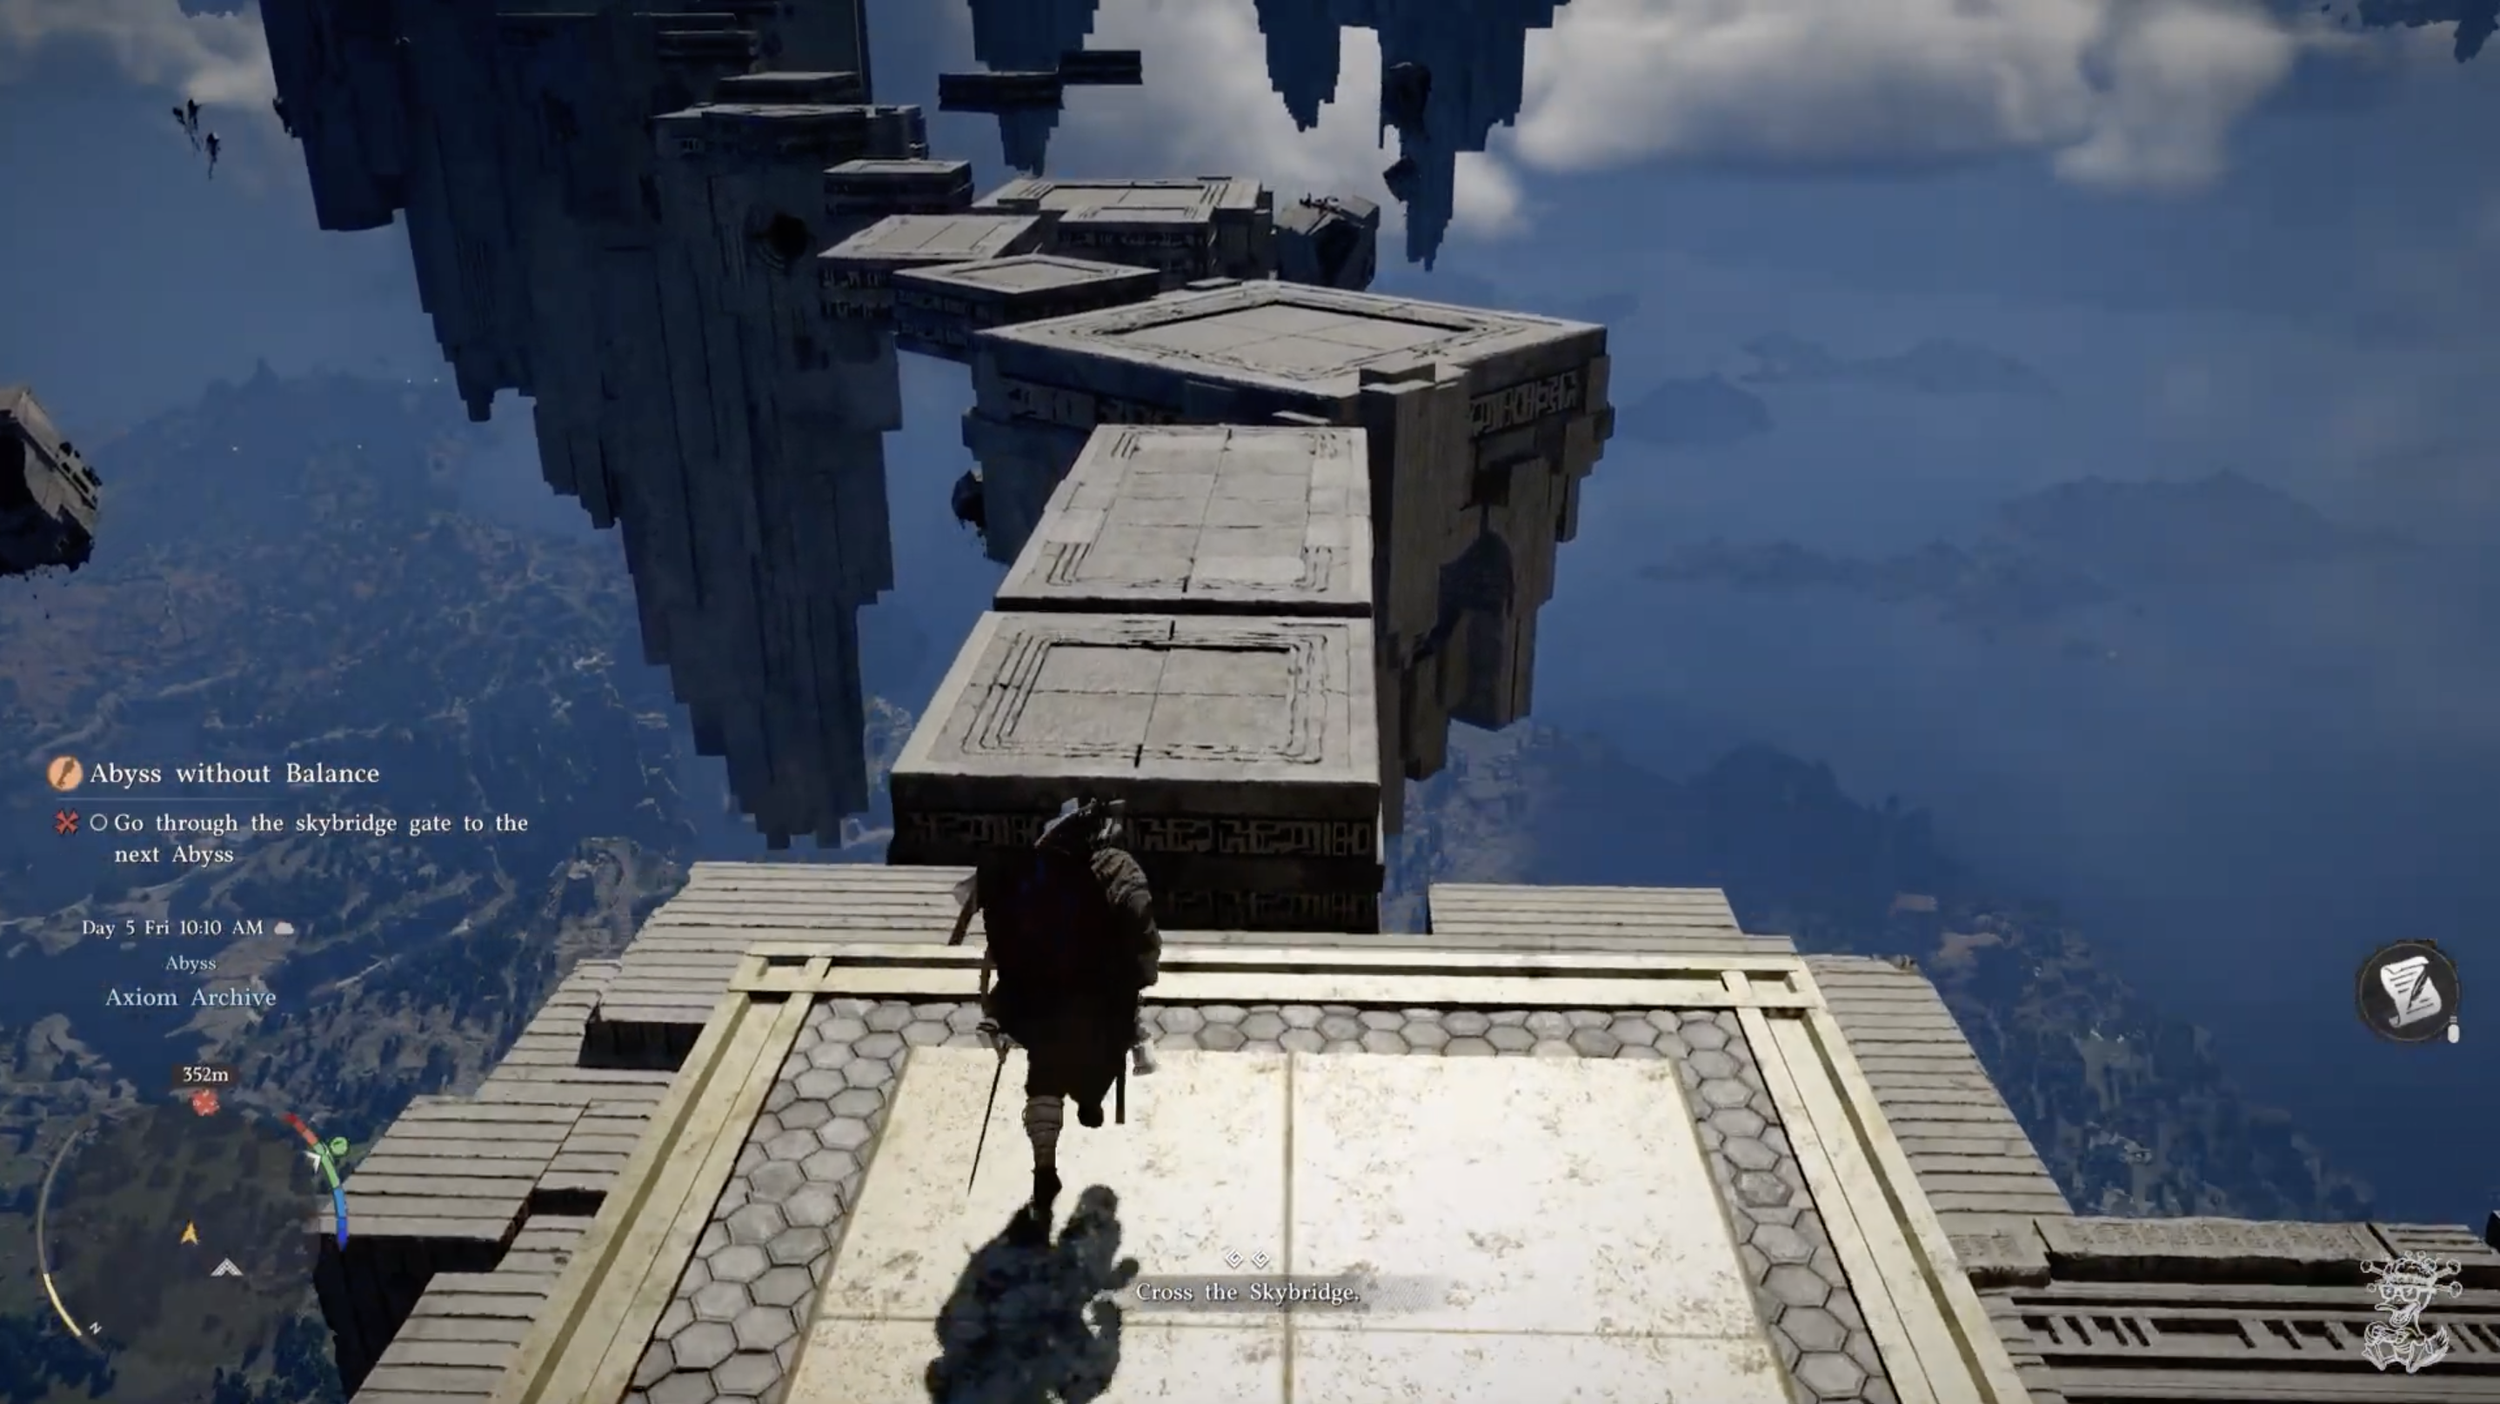
Once the cutscene is over you will be on your first Skybridge Gate and Alignment Device. Go through the gate and use Axiom Force on the pillar that appears on the platform. Once you do this, platforms will appear in the sky creating a bridge. Jump from platform to platform until you finish all the bridges. I recommend using Precision jumping but thats up to you. To do that, click in on the left joystick and aim the blue dot onto the platform you want to jump onto.
Eventually you’ll make it to another Abyss Nexus and need to figure out a couple puzzles to finish the mission. First you need to Remove the Wall Blocking the Floor. Use Axiom force and grab the floating cube in the middle of the hole. You need to pull it up and connect it to the concrete square on your right. If you look on your left you’ll see another cube attached to an identical grey square and the cube is electrified. Were trying to do the same with the floating cube. Once you connect it, you will be able to fall through the invisible floor to the section below. Click here to watch the video for extra help, its a little hard to explain.
Synthesize the Abyss Cell
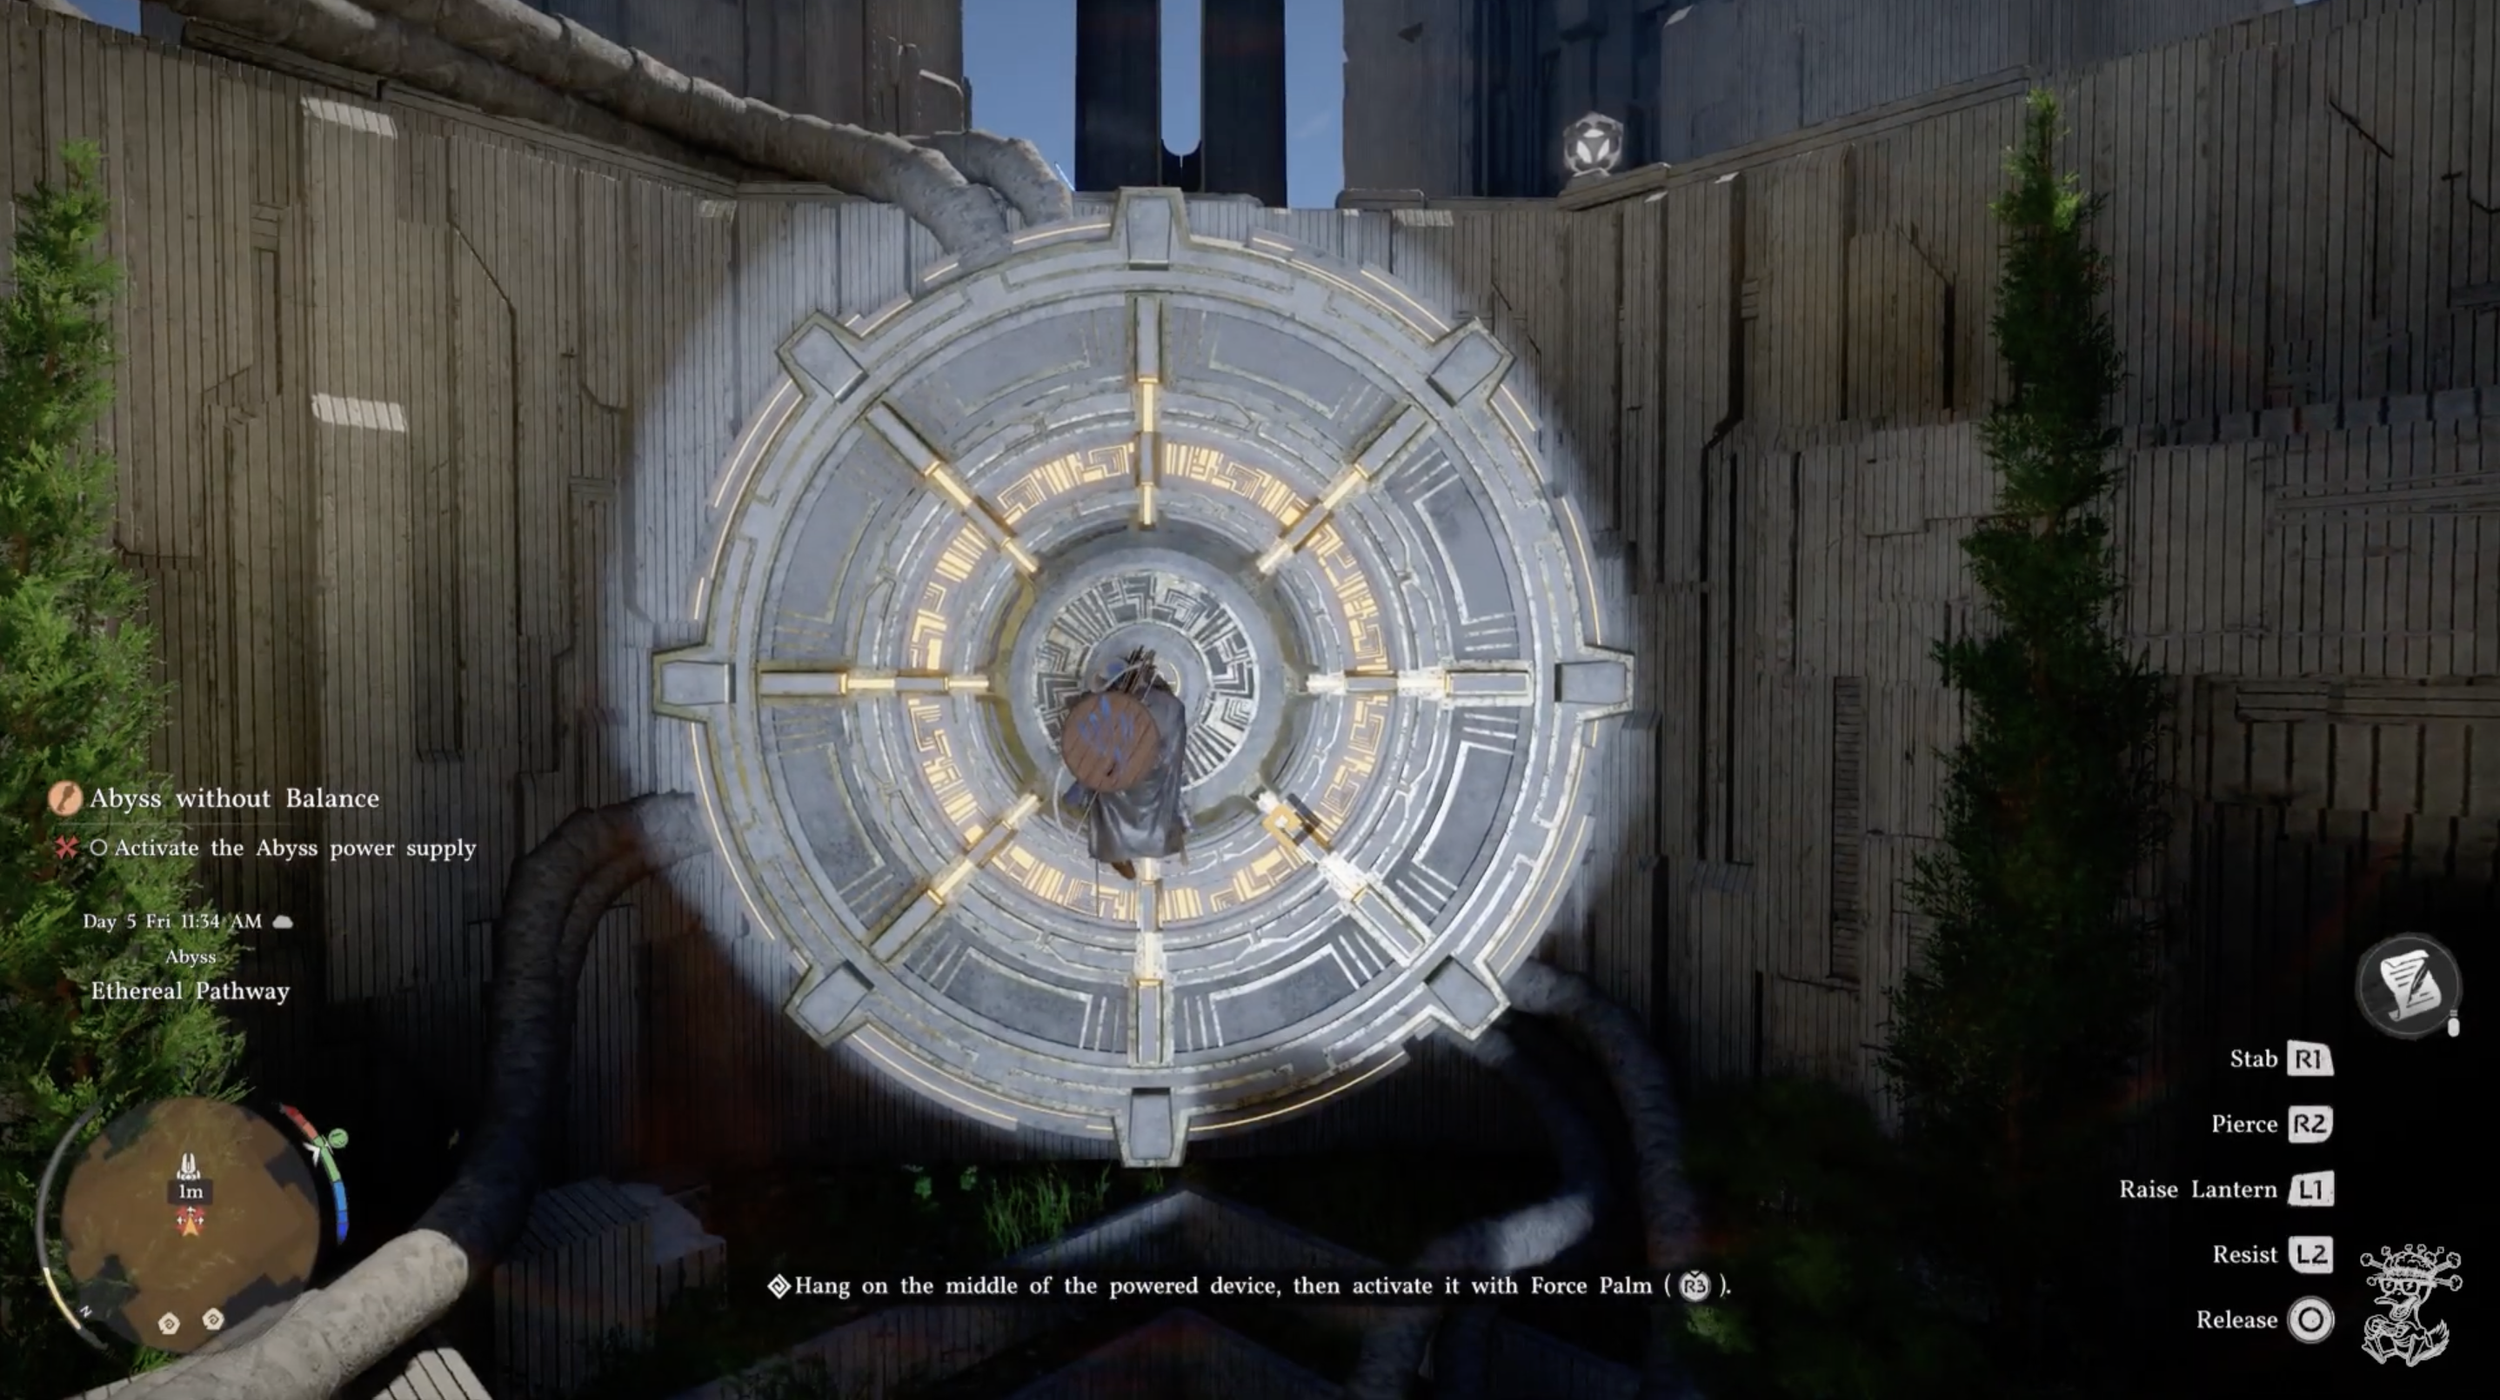
Now that you’re down below, you need to approach the echo and learn force palm. Walk up to the glowing blue body and hold L1 with your flashlight and you will learn Force Palm. Now you want to use Axiom force to grab the floating square and then move it in front of the blue body against the wall. Now use Force Palm to push the square into the wall activating the big circle lock above you to the left. It will now ask you to Hang on the middle of the powered device, then activate it with force palm. This was so confusing on the first playthrough and it one of the things that made many people quit when the game first came out. They did help make it easier to find after patching but it definitely is just not explained very well.
Climb out of the spot you’re at and you’ll find a giant circle. Climb onto the circle into the middle of it and while hanging on it, you can actually use Force Palm which will activate the lock finishing the final puzzle. Now climb over the circle and another cutscene will begin.
Woman in White
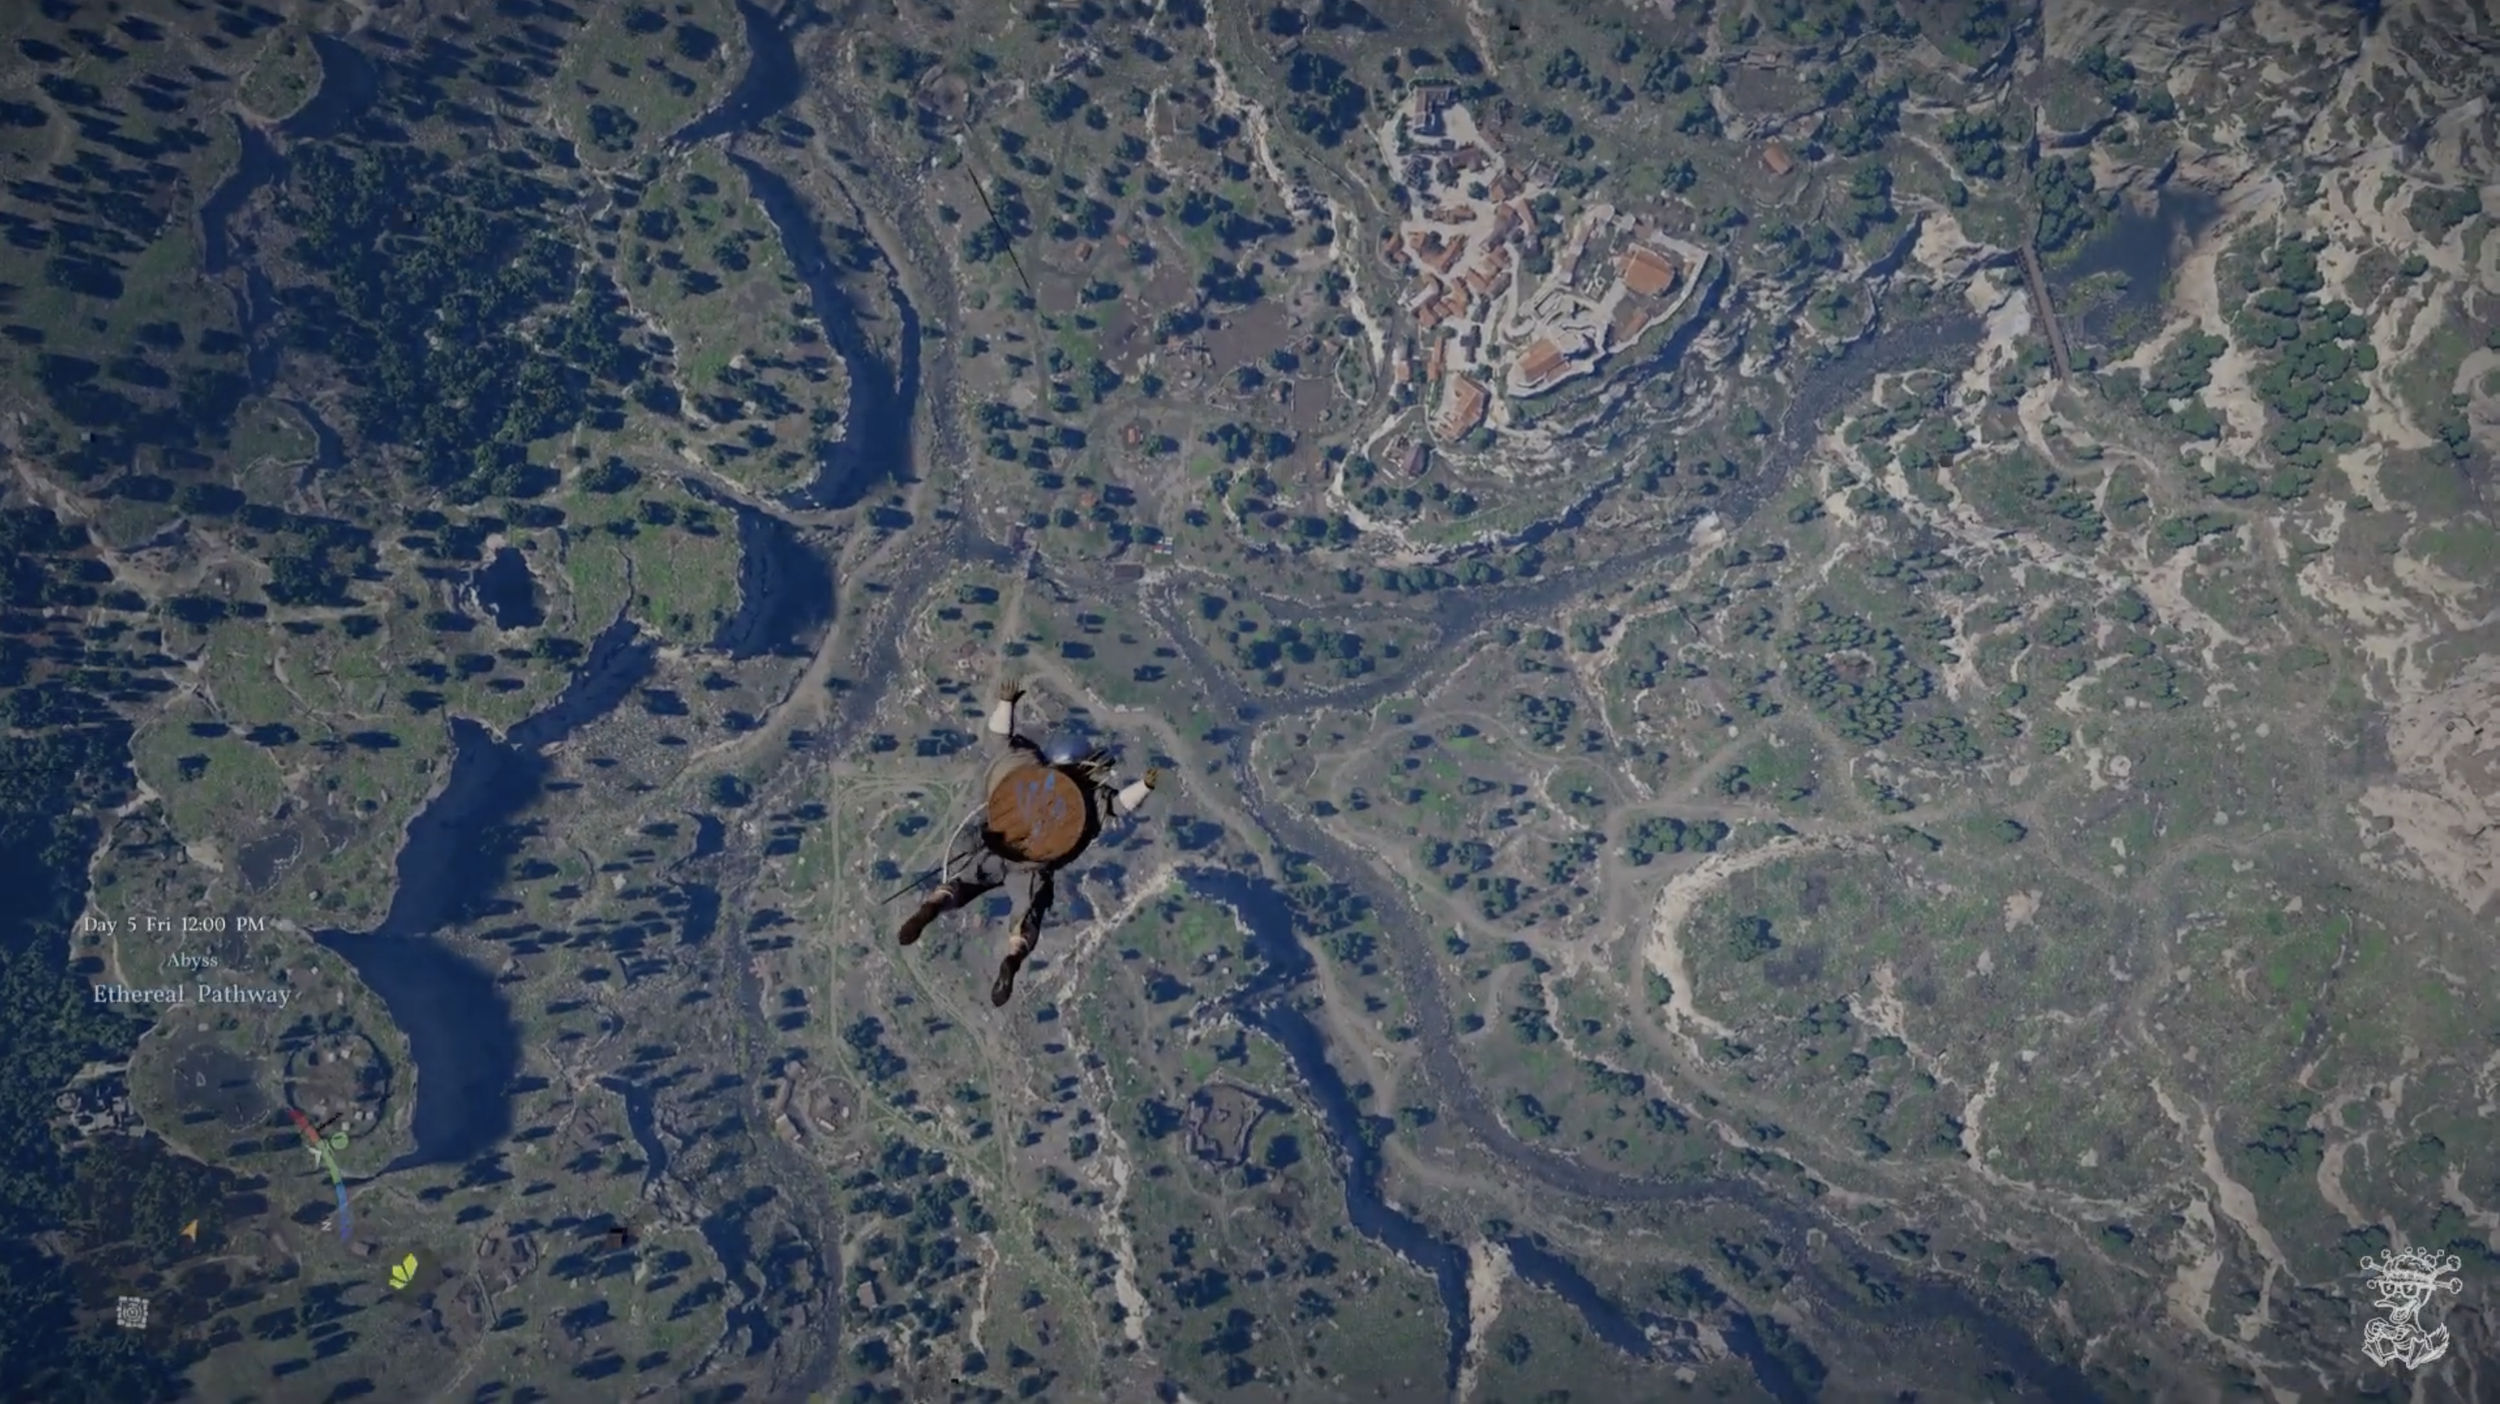
Now that you’re finished with the puzzles you're ready to finish chapter 1. Walk towards the woman in white. The final cutscene will begin and you will gain the ability to fly! Kliff will jump off the edge and you will fly your way to the ground and complete chapter 1.
Thank you so much for checking out our first complete guide.
Everything you see is done by one person with a normal full time job so things are taking a little time and I really appreciate you checking this out. If you liked this guide please give me a follow on youtube and hit me up on social media if you enjoyed this guide or you have any comments to make it better. More guides coming soon!